Summer Vibes Anchor Greeting Cards
Hi friends, welcome back to another blog post! On today’s blog I’ll be sharing with you how I made these two simple Summer Vibes Anchor cards featuring the new Anchor Die by Simon Says Stamp Rest and Refresh new release. Along with the die, I also used a few of the new items from these Nautical theme release. So, without further ado let’s jump into the post. ↓
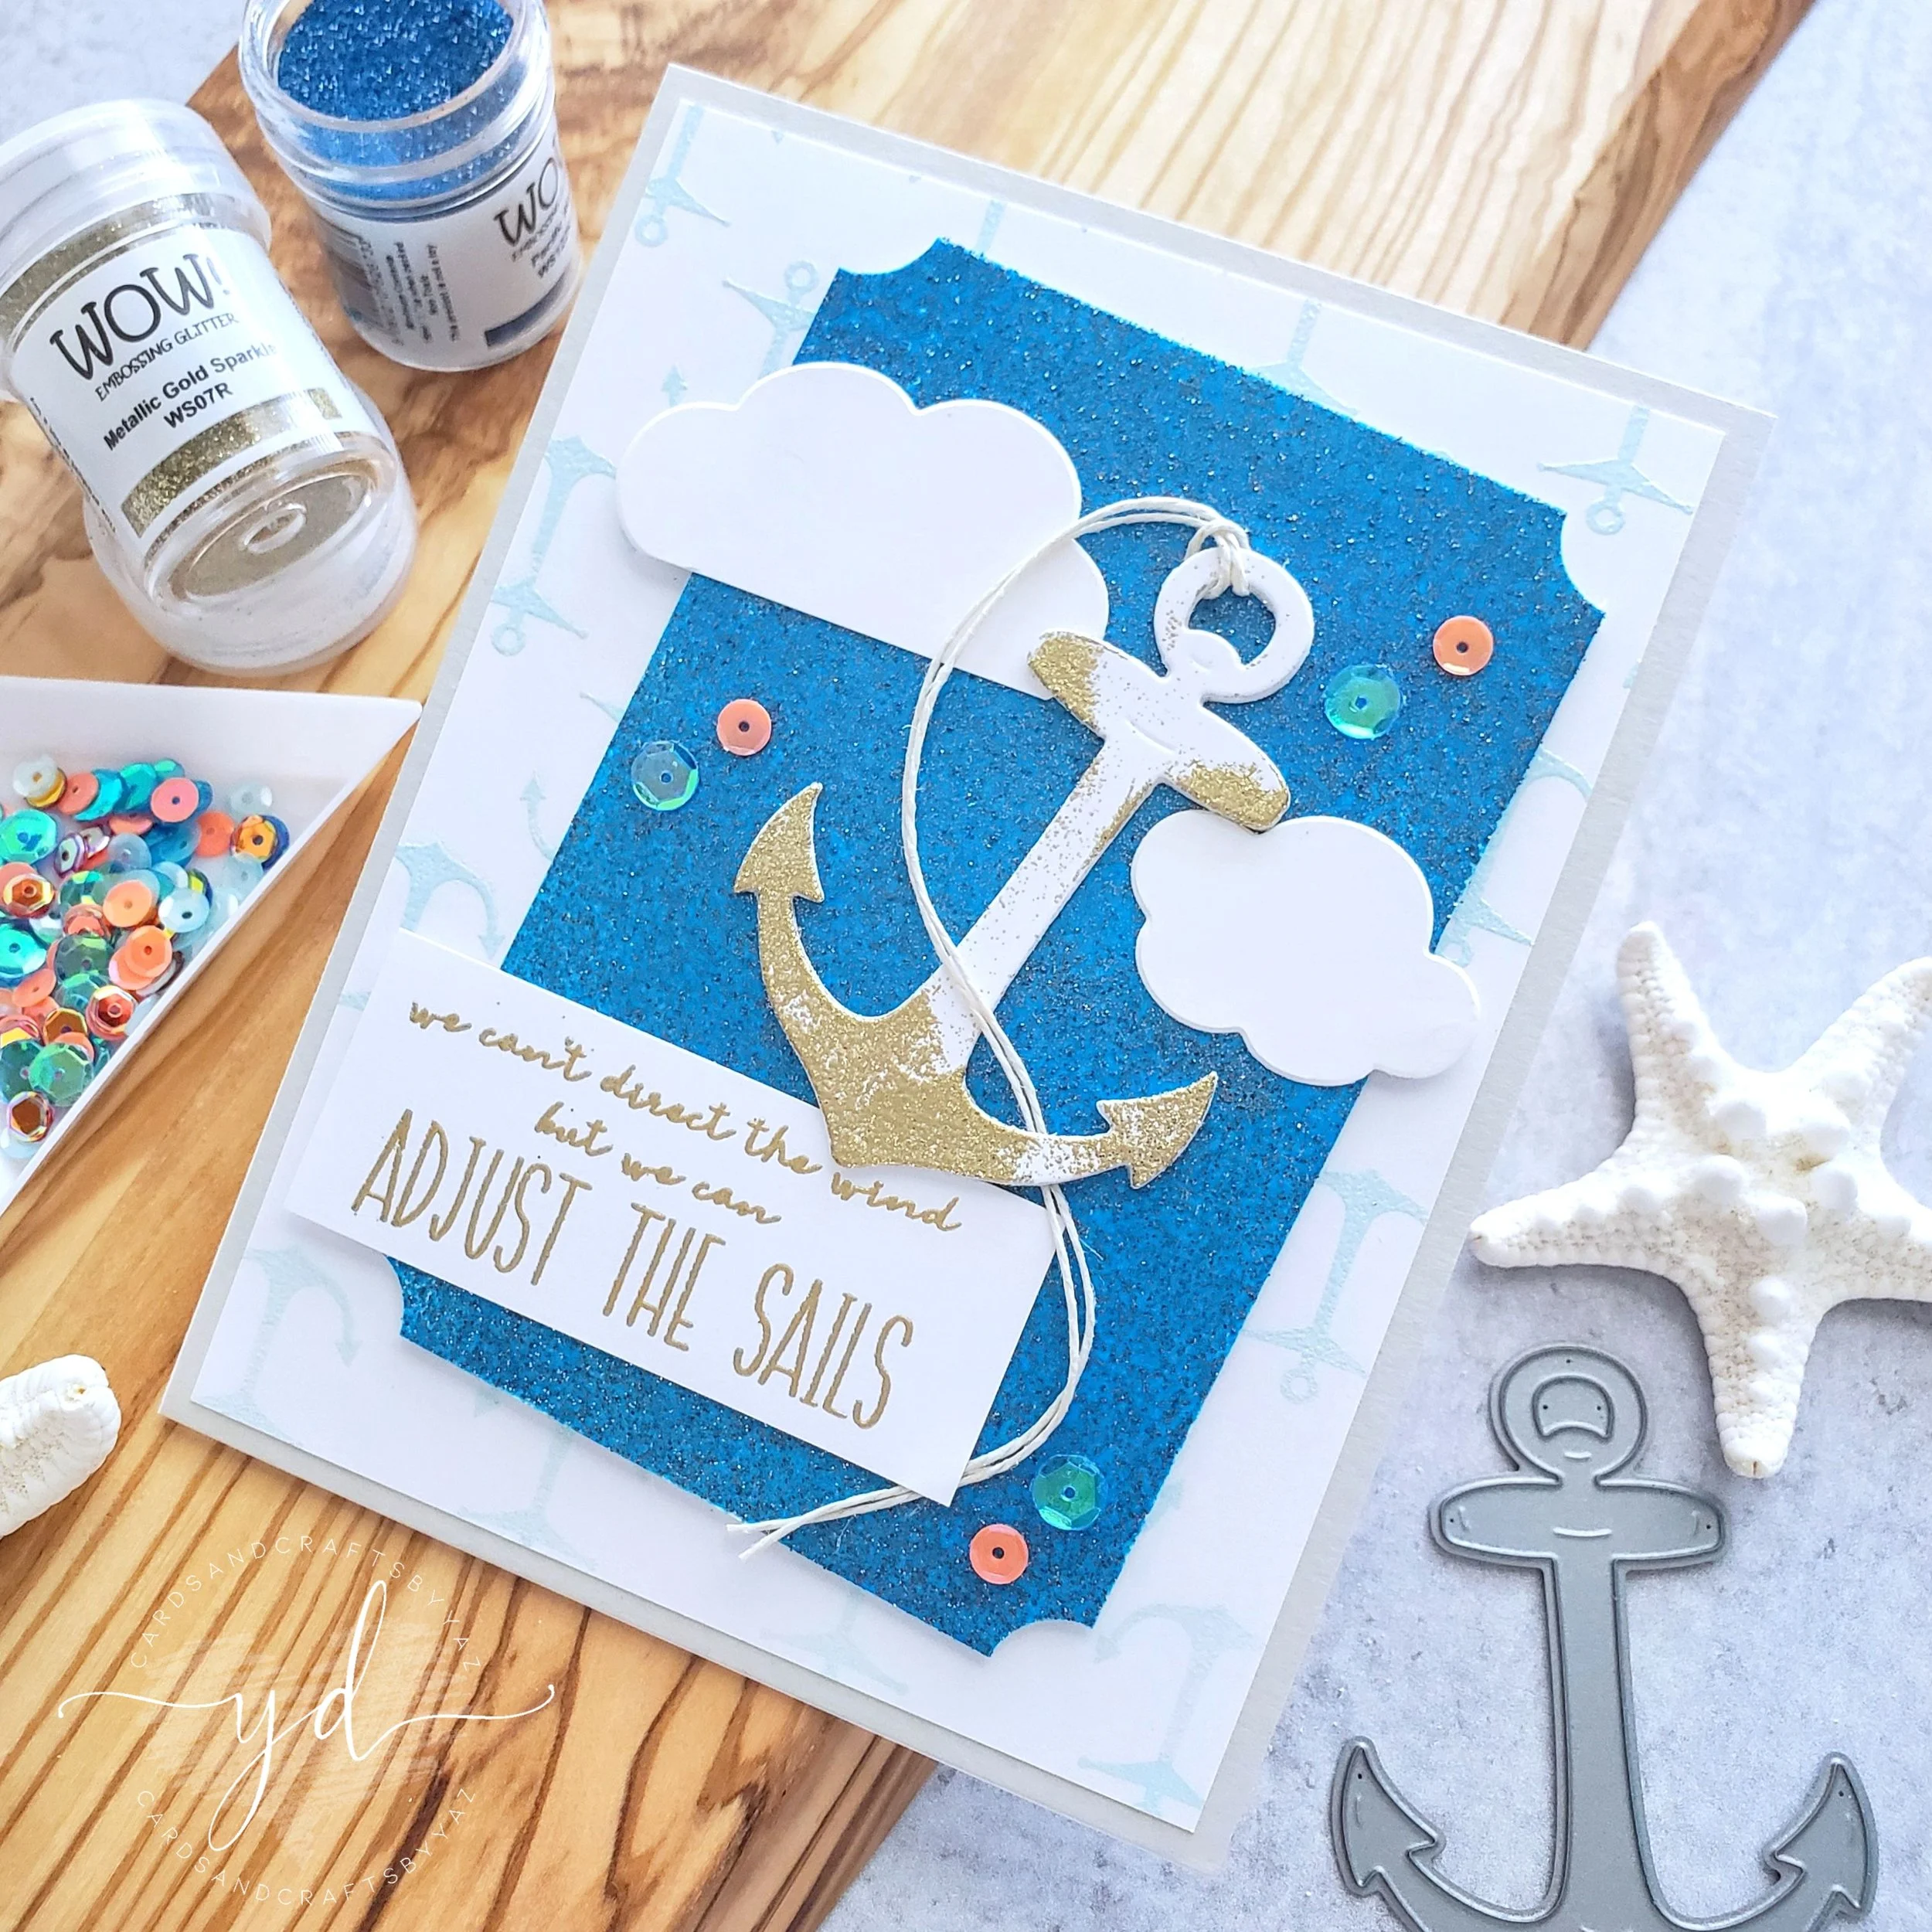
For the first card, I started by stamping the Anchors Background Stamp in a white card panel with embossing ink, then I covered the stamped panel with Metalline First Frost embossing powder, and I heat set it. Once the heat embossing was melted, I trimmed the edges of the card panel, and I adhered the backed of it to an A2 size card panel with double sided tape (I used Fog cardstock as the card panel) Next, I made my own blue glitter cardstock by covering a white card panel with embossing ink, and Pacific Wave embossing glitter once the card panel was covered with the embossing glitter I heat set it, and trimmed the edges until was H 4 1/5 X W 3.0 as soon as the edges were trimmed, I used the Stub side of the Crop-A-Dile Chomper, and I adhered the panel in a wonky way to the card panel with double-sided tape adding a little bit of dimension.
Then, I started the die-cutting. For the die-cutting I ran through the die-cutting machine the Anchor Die (3X), and once two of the nested Cloud Die to die-cut out of white cardstock. Once the die-cutting were done, I stacked the 3 anchors die-cuttings, and I glitter gold embossed parts of the anchor for a distress look. Right after the glitter gold embossing was done, I added a piece of hemp cord to the anchor, and I adhered the anchor to the wonky glitter card panel with liquid glue. As well as, I adhered the two clouds to each side of the anchor as you can see in the picture above. In a separate piece of white cardstock, I gold heat embossed one of the sentiments from the Your Light Stamp Set, which I trimmed in a rectangular way, and I adhered to the card panel. Finally, to finish the card panel off I adhered a few Marina Sequins here and there for an extra touch of shine.
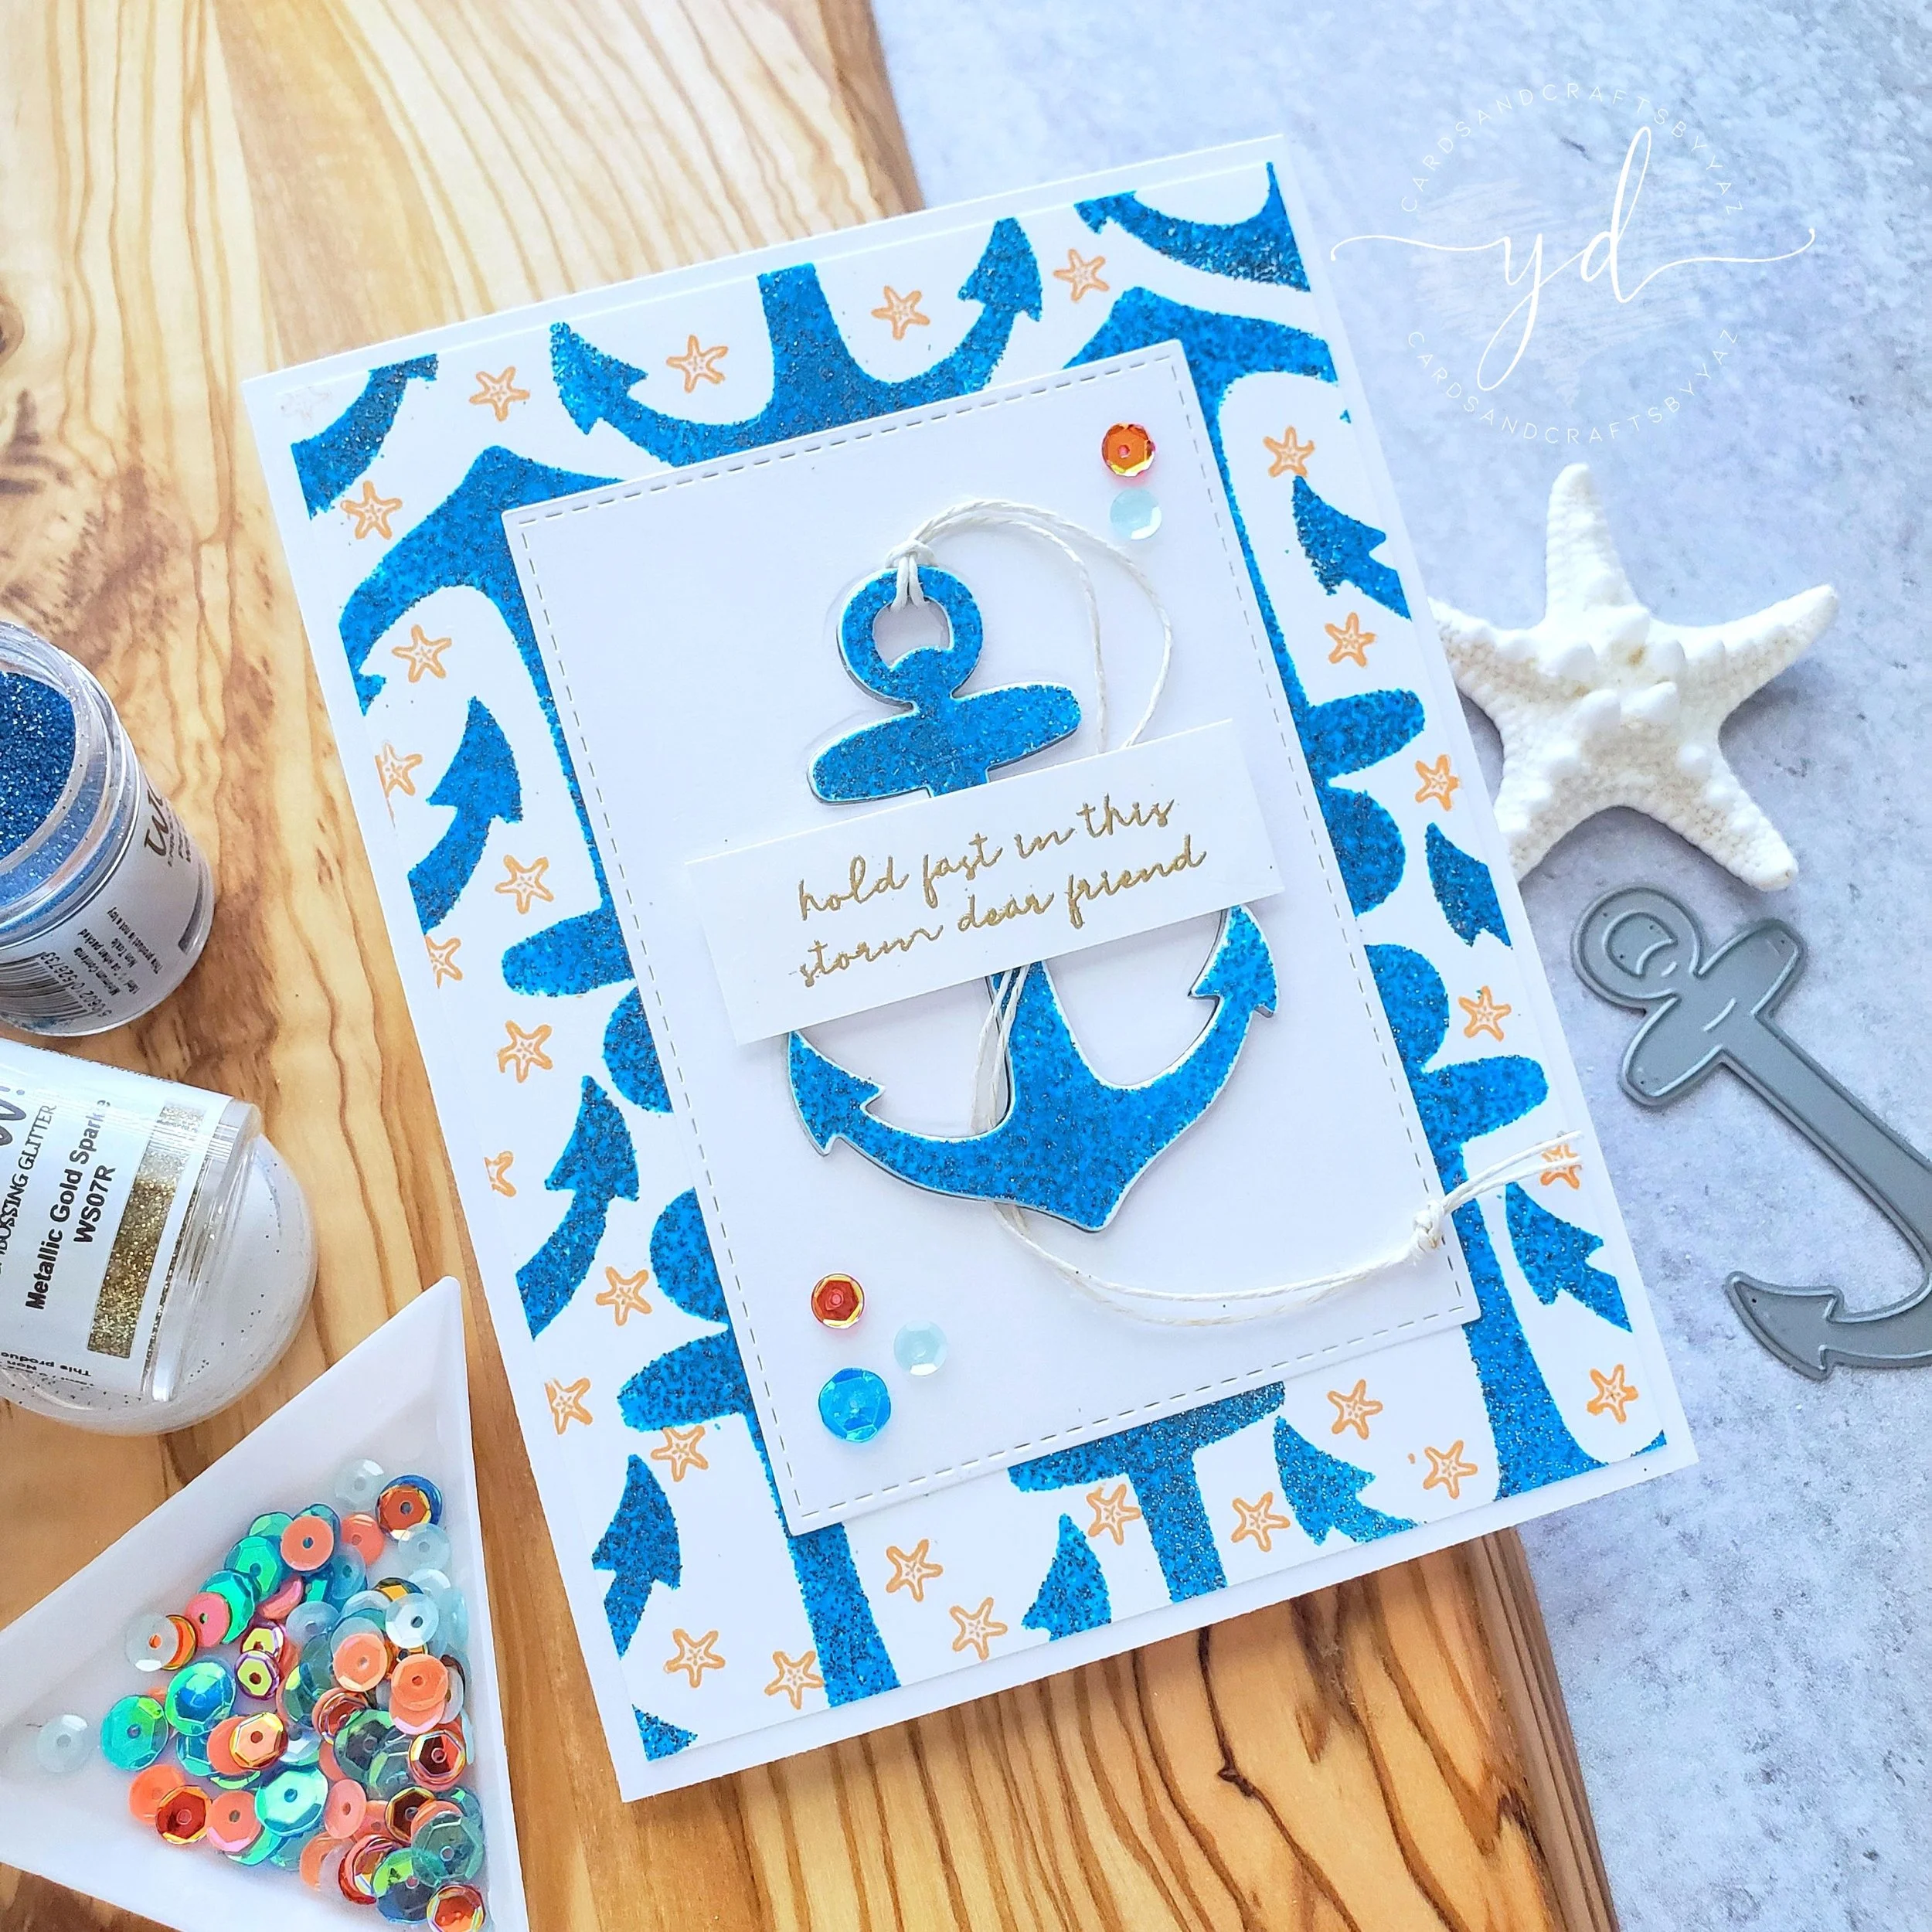
For the second card, I used the negative piece from the previous anchor die-cutting to create my own background, So, to begin with I used the anti-static powder tool to treat the white card panel. Next, I carefully placed the negative anchor die-cutting in the center of the card panel as my starting point, and I applied embossing ink covering the inside of it.( for a precise inking, I used a sponge dauber) Then, I covered the inked image with Pacific Wave embossing glitter, and I heat set it. I repeated this step until the whole panel heat embossed. As you can see I heat embossed some upside down, and to fill some of the white spaces up, I used one of the star stamp images from the Your Light Stamp Set to stamp with Sweet Mango Ink. Right after I was done with the card panel, I used one of the Rectangle Stitched Die to cut out white cardstock. In the meanwhile, I also ran through the die-cutting machine the anchor die with the stitched rectangle, as I was planning to glitter embossed the anchor, and to inlay it back adding a little bit of dimension by die-cutting it also from fun foam. As you can see in the picture above, I glitter embossed the anchor with the same Pacific Wave embossing glitter, I adhered the stitched white card piece to the card panel, and I inlaid the fun foam, and the glitter embossed anchor to it. For the sentiment, I gold heat embossed another sentiment from the same Your Light Stamp Set, and I adhered on top of the anchor with foam mounting tape. Lastly, I adhered a few Marina Sequins here and there for an extra sparkly touch.
To finish both cards off I adhered the backed of each card panel to an A2 top folding white card base.
So, that’s all for today! I hope these cards inspire you to give these designs a try as always I appreciate the time you take to read my blog posts. Down below you’ll find the supply list for all the products used in this blog post, as a referral from where they were purchased, or received from.
Thank you and happy crafting, your time is valuable.
Don't forget to keep spreading kindness, Today and Always.
Best,
Yasmin
Supply List
Anchor Die
Anchors Background Stamp
Your Light Stamp Set
Marina Sequins
Sweet Mango Ink Cube
Rectangle Stitched Die
Cloud Die
Metalline First Frost
Metallic Gold Rich
Metallic Gold Sparkle
Pacific Wave
Embossing Ink Pad
WOW! Embossing Ink Pad Refill
WOW! Dual Speed Heat Tool
Crop-A-Dile Chomper
Neenah Smooth Solar White #80
Cougar 110# Heavy Weight Card Stock
NOTE:
As WOW! Designer Team Member, WOW! has provided me a special code for all you my lovely Subscribers to use. So, please don’t forget to take the advantage of a 10% off all purchase for both WOW! US & UK online stores by simply using my code: WOWDTYD
‒ Here are the links for both websites weather you’re a US or UK user.
WOW! US
WOW! UK
Your imagination is Your limit.
All photography provided by Yasmin Diaz
Creativity is contagious, pass it on.
–Albert Einstein
Disclosure
I am creating this blog with the purpose of sharing how I design my cards, the information provided here is base in my own opinion and creativity. I am not an expert by any means, and I only share the way that I design my cards. Most of the products used for this blog post were personally purchased by me, however I did receive some of the products by WOW! and Simon Says Stamp. Please, keep in mind that all of the referral links were added for you to know from where I purchased or received the items from, as all of the products share, and mention in my blog posts are simply because I use, and truly love them.


