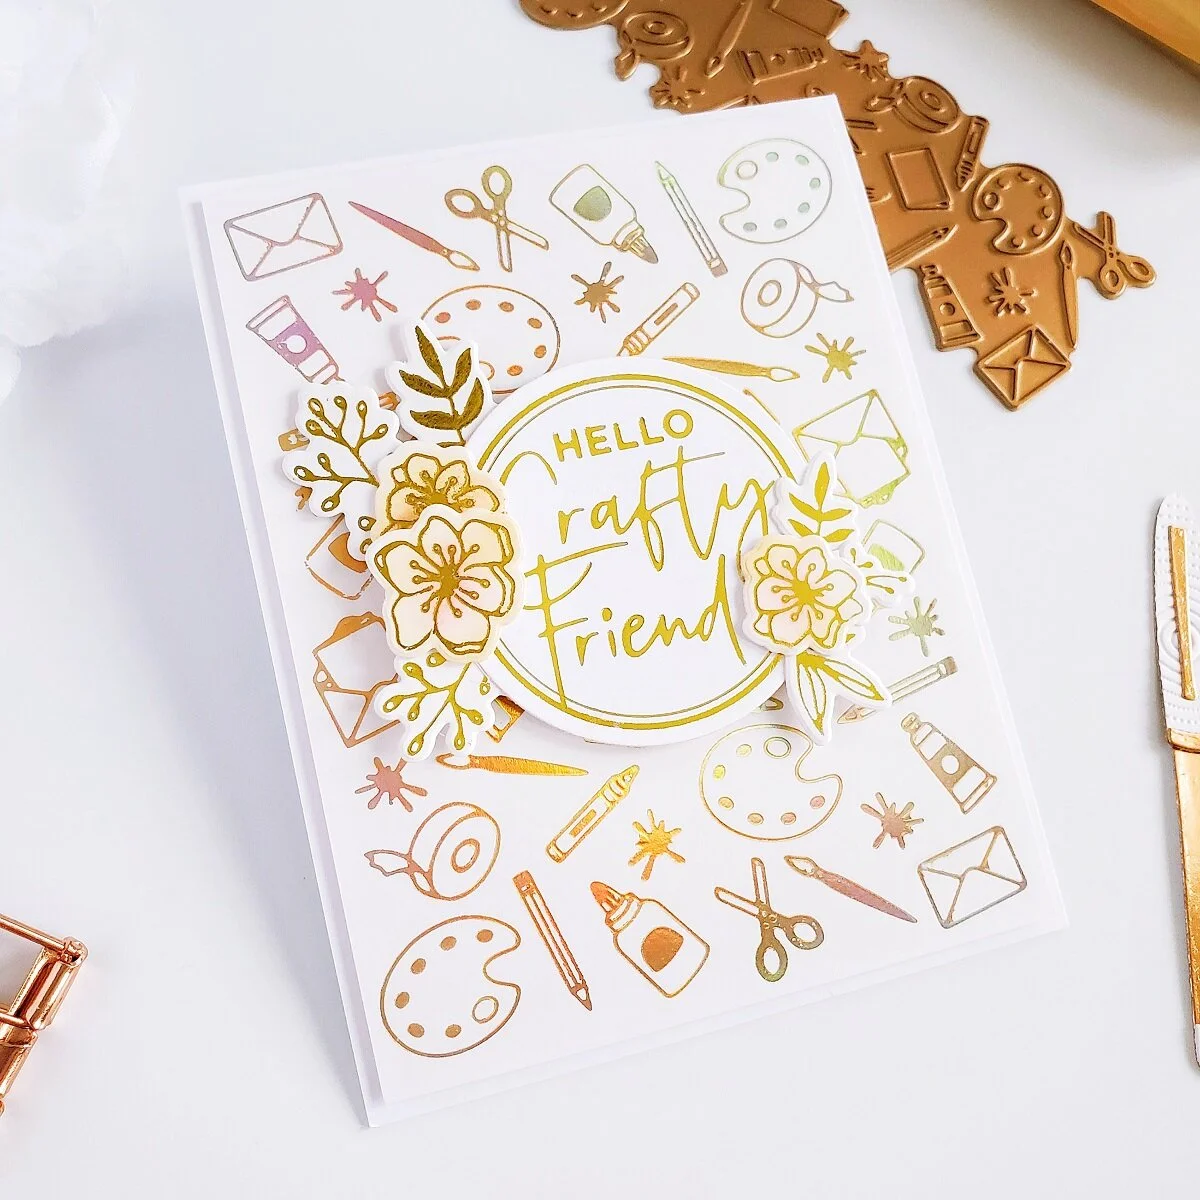
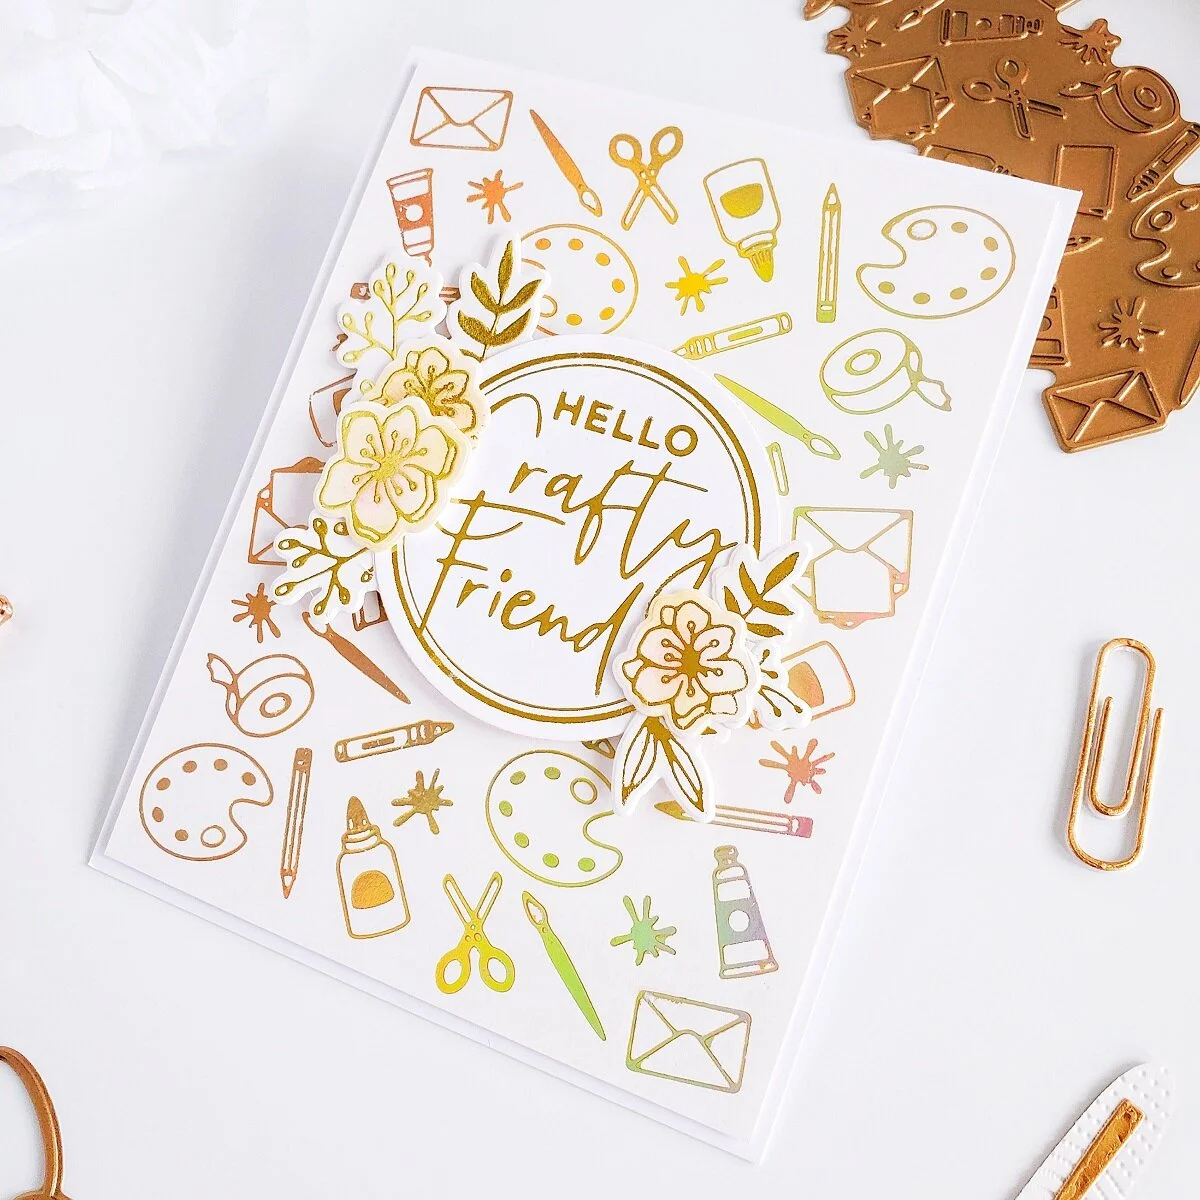
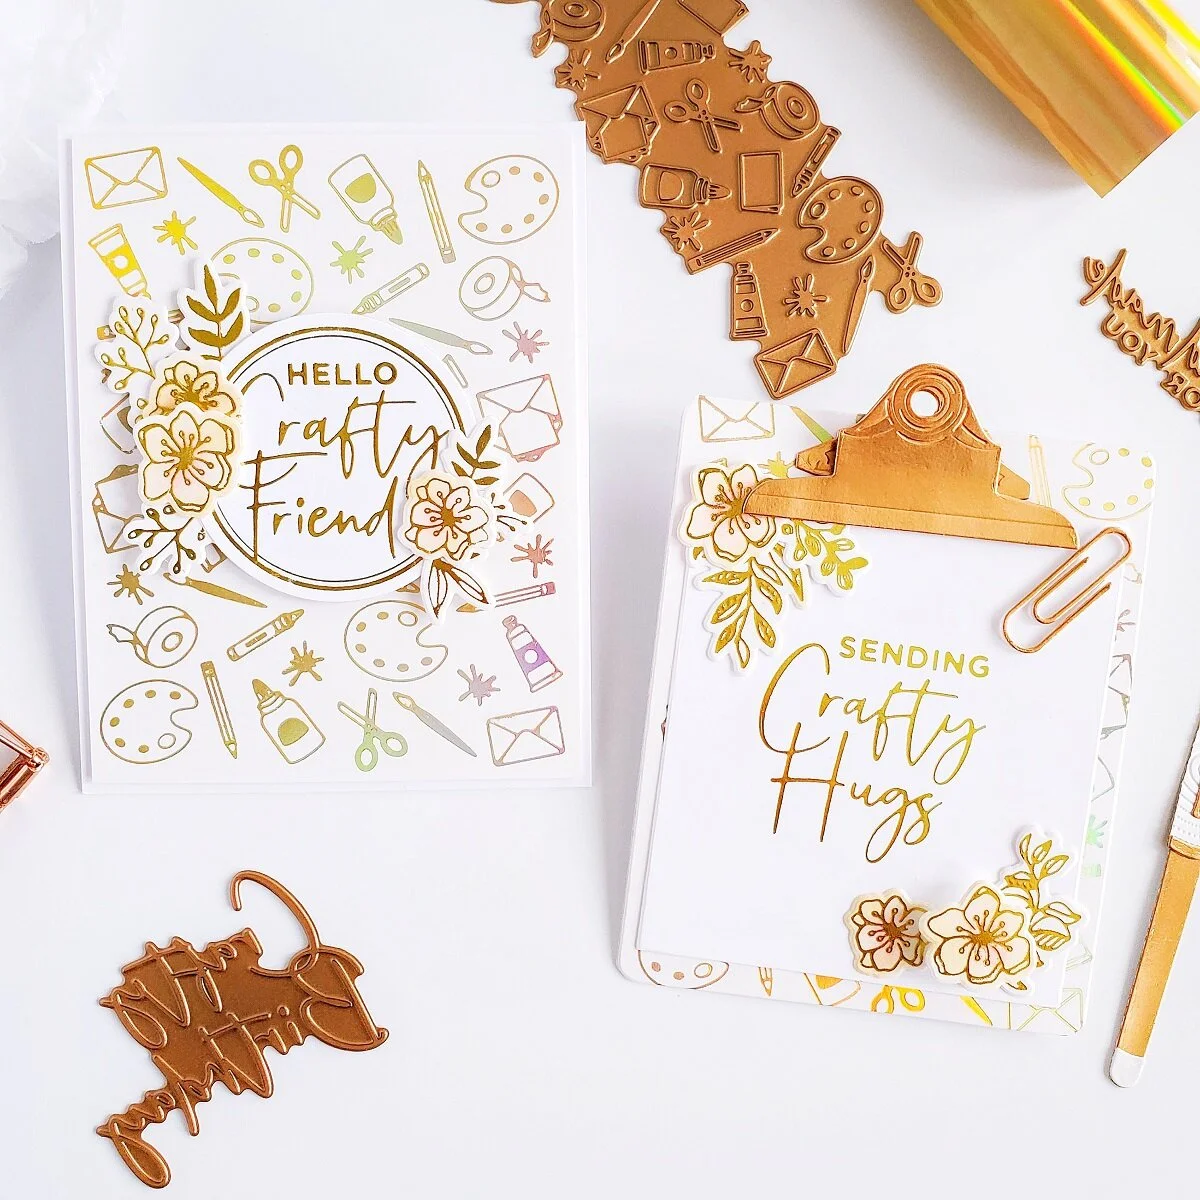
Happy Saturday, Friends! I It’s the first day of the month, and today I’ll be sharing with you these 2 “Crafty Friendship” cards made using the just released “Have a Crafty Day” Glimmer Hot Foil Kit Of The Month Club by Spellbinders. So, without further ado, let’s jump into the step by step on how I made them ↓
To begin with, as usual I started by setting up on my Glimmer Hot Foil System Platform and Platinum 6 Die Cutting and Embossing Machine then, I turned on the glimmer hot foil platform, and while the platform was heating up, I cut a large piece of the Glimmer Hot Foil Roll - Aura included in this month kit using a sharp pair of scissors, and then right after that I lined up over a large piece of white cardstock the glimmer foil and the glimmer hot foil plate included in the kit.
So therefore, once the platform was ready to foil, I went ahead to get the first half of the cardstock foiled, and then after that I had it done I lined up the glimmer plate in the other half of the white cardstock and I went ahead to repeat the same step creating that way a full foiled background card panel. Thus, after that I trimmed the edges off from the card panel and I adhered the backing of it with double-sided tape to an A2 top folding white card base. So, after my card base was done, I set it aside and I went ahead to get the sentiment and the elements foiled. For the sentiment, I used one of the large glimmer foil plates included in the kit, and the following glimmer foil and glimmer plates to create the rest of the foiled elements:
-Glimmer Hot Foil Roll - Gold
-Foliage Border Glimmer Hot Foil Plate & Die Set from Foiled Basics by Yana Smakula
-Organic Foliage Glimmer Hot Foil Plate & Die Set from Foiled Basics by Yana Smakula
Lastly, after I had the elements and sentiment foiled, I used one of the circle dies from the Nestabilities Standard Circles LG Etched Dies to die-cut the circle out of the cardstock, and then right after, I finished the card off by mounting the circle and by gluing down with liquid glue the little floral clusters which I created using the foiled flowers and sprigs.
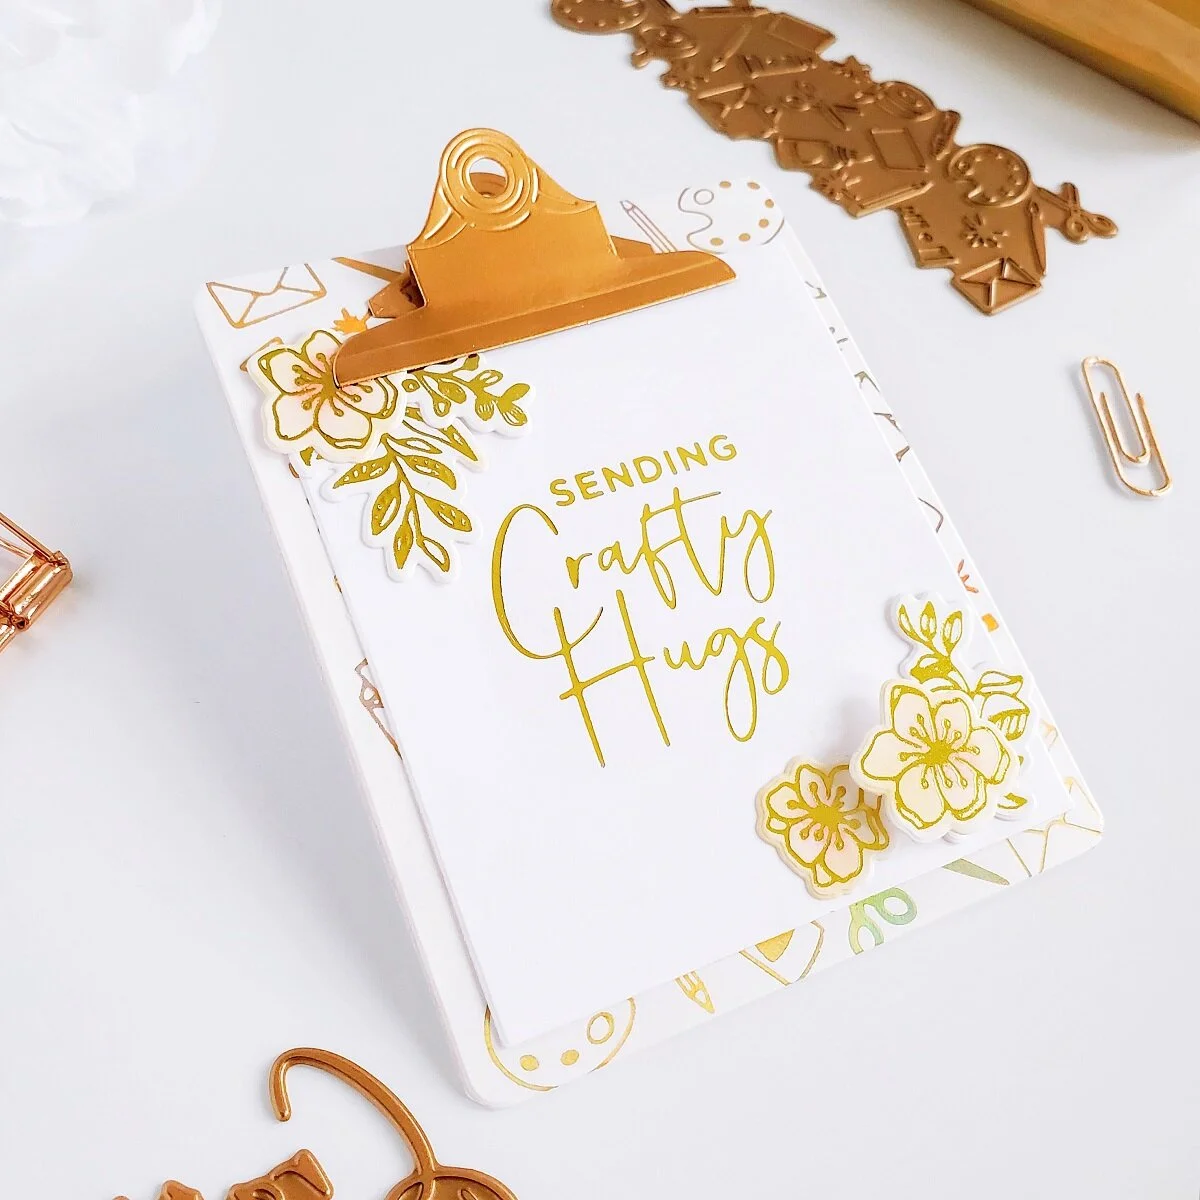
Moving along, for the second example I create a small shaped clipboard/card.
To create the clipboard, I used the August-2019 Large Die of the Month so, if you have this die set it will pair perfectly with the awesome crafty glimmer plates.
With that said, I kept it simple by creating the base of the clipboard using another foiled card panel which, I’ve gotten foil in the same exact way as I did for the previous example. As for the sentiment I lined up a large and small glimmer foil plates over a piece of white cardstock, and I got them foiled with gold foil to create the sentiment. Finally, to finish the card off I used the die included in the set to die-cut the note from the cardstock and last but certainly not least, I embellished the little note with foiled flowers and sprigs that I have left over from the previous example.
As finishing touches, I used the dies included also in the set to create the paper clip and pen. With that being said friends, I hope you’ve enjoyed reading the step by step on how I’ve created today’s cards using the new “Have a Crafty Day” Glimmer Hot Foil Kit Of The Month Club by Spellbinders. As always, I appreciate the time that takes you to read my blog posts. Below, you’ll find the supply list for the products used on today’s blog post. If, you get inspired by today’s project be sure to tag me on Instagram➝@cardsandcraftsbyyaz I’d love to see what you’re creating.
Thank you and happy crafting, your time is valuable.
Don't forget to keep spreading kindness
Today and Always.
Love,
Yasmin
Supply List
Glimmer Hot Foil Kit Of The Month Club
Tool ‘n One
Glimmer Hot Foil Roll - Aura
Glimmer Hot Foil Roll - Gold
Foliage Border Glimmer Hot Foil Plate & Die Set from Foiled Basics by Yana Smakula
Organic Foliage Glimmer Hot Foil Plate & Die Set from Foiled Basics by Yana Smakula
Nestabilities Standard Circles LG Etched Dies
Glimmer Hot Foil System Platform
Platinum 6 Die Cutting and Embossing Machine
Cougar 110# Heavy Weight Card Stock
More INFORMATION
FAQ About Spellbinders Kits
Your imagination is Your limit.
All photography provided by Yasmin Diaz
Creativity is contagious, pass it on.
–Albert Einstein
Disclosure
I am creating this blog post with the purpose of sharing the way that I design my cards, the information provided here is based in my own opinion and creativity. I am not an expert by any means, and I only share the way that I design my cards. Most of the products use on my blog posts are personally purchased by me. However, the products used on today’s blog post by Spellbinders were sent to me. Please, keep in mind, all referral links were added for you to know from where I purchased or received the items from, as all of products shared and mentioned in each of my blog posts are simply because I use, and truly love them.


