
Hand Drawn┃Mother's Day Inspiration Card
Happy Sunday, Friends!!! And… Happy Mother’s Day to YOU, if you’re a beautiful Mom or if you’re celebrating all Moms too! Well, today I’d like to share with you this quick and simple “Mother’s Day” card that, I’ve hand drawn for this special day. So, without further ado let’s jump to the step by step on how-to-make it this card ↓
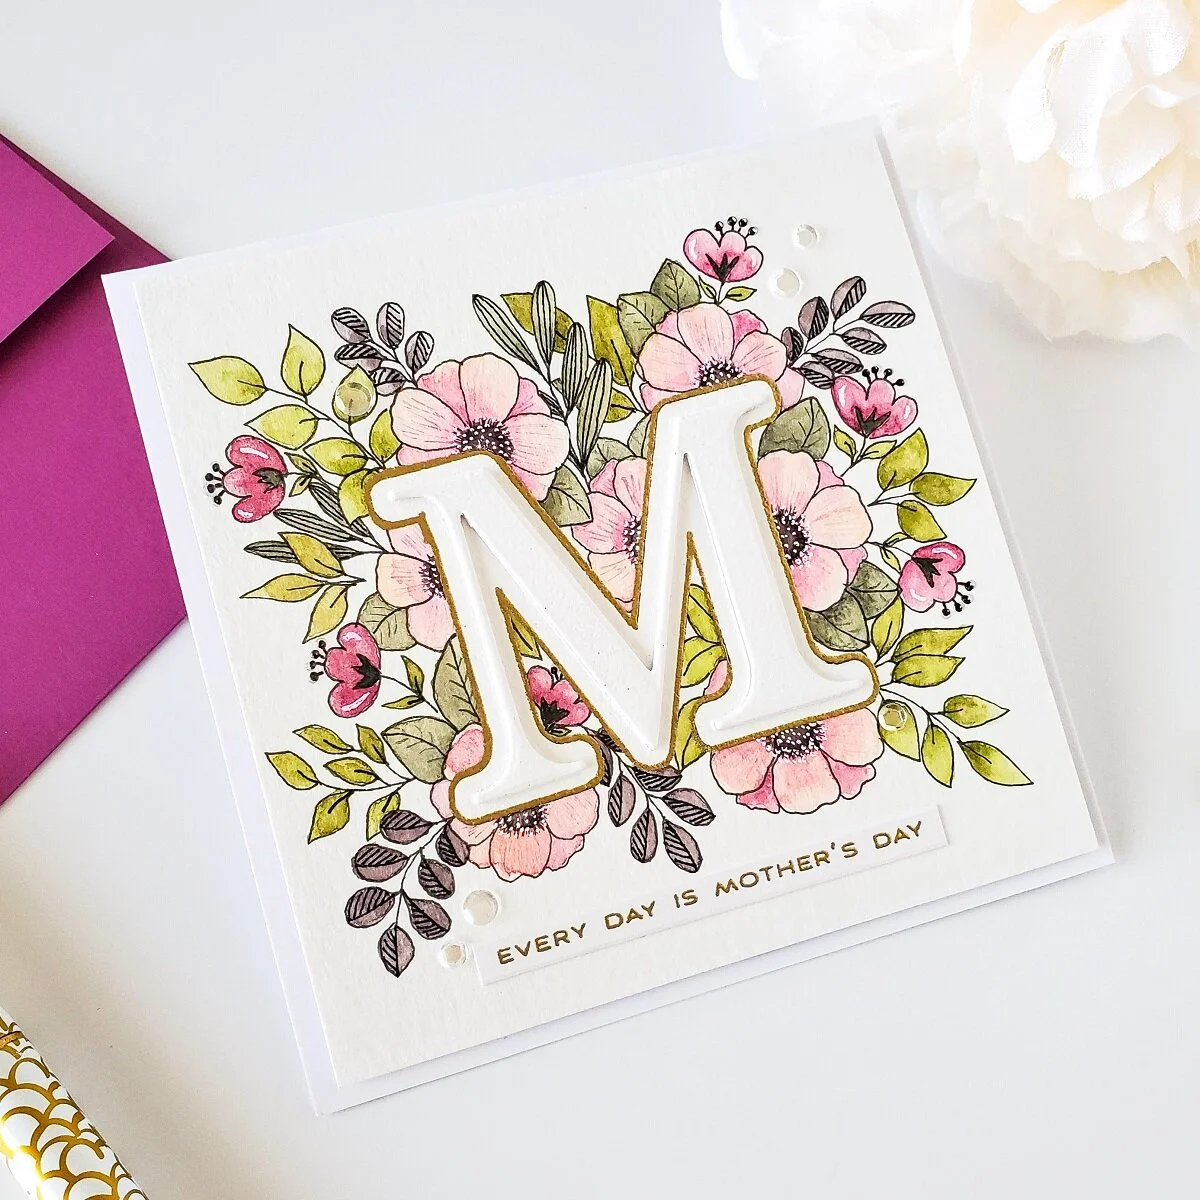
To begin with, I started by tracing over a watercolor panel with a mechanical pencil the M in the center of the card panel so, to do that I lined up the M die from the Classic Alphabet Die Set therefore, after I’ve got it traced I started the hand drawing.
Once, I’ve got the floral hand drawing done with the mechanical pencil around the M and over the watercolor card panel, I used the (02 nib) from my Micron Pens set to trace once again the hand drawing to create the black outline.
Therefore, after creating the black outline, I added lots of Embossing Tool Powder to the card panel because, I’ve got the M once again traced, but this time instead of using a pen, I used the WOW! Embossing Pen as I wanted to gold heat emboss the outline of the M for a monogram look. So, after I had the traced M heat embossed with WOW! Metallic Gold Rich, I placed the card panel over my craft mat, and I water-colored the hand drawing in with a color pallet that I created by mixing a few hues from my Prima Classic Watercolor Pam Set.
Lastly, after the water-coloring was completely dry I used the (01 nib) from the same pen set to add line shading to some of the leaves as well as the flowers. Then, I also used my Uni-ball White Gel Pen to add a few highlights and details to the center of the larger flowers. Finally, after adding the highlights I trimmed down the card panel to a W 4-3/4’’ X H 4-3/4’’ size, and I mounted it with craft foam and double-sided tape to a 5X5 white card base.
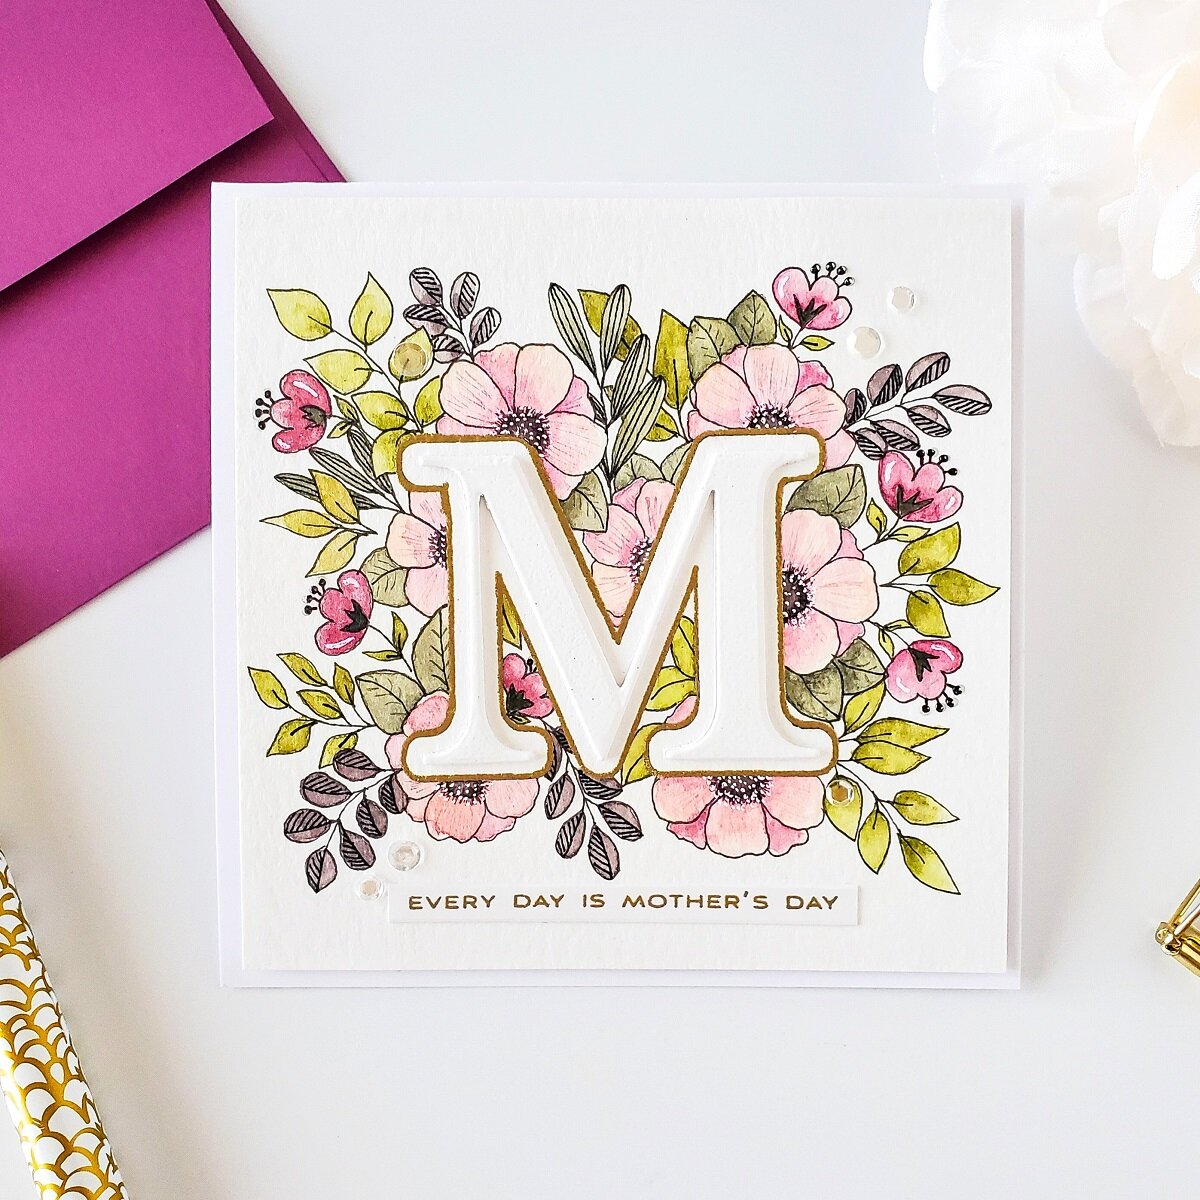
To finish the card off first, I glued down right in the bottom center part of the card with liquid glue a sentiment that I had previously gold heat embossed on a piece of white cardstock. Then, I glued down the dimensional white M die-cutting letter that, I created by stacking 4X white die-cutting letters and white heat embossing it for a shiny look. By the way, I used the actual die-cutting created from the die and white cardstock. So, as finishing touches, I covered the light green leaves and smaller flowers with Nuvo Aqua Shimmer Pen, and I added Glossy Accent to the anthers of the smaller doodled flowers, and last but certainly not least, I glued down with liquid glue a few Crystal Confetti to balance the shine out. With that said, I hope you’ve enjoyed reading the step by step on how I’ve created today’s “Mother’s Day” card. As always, I appreciate the time that takes you to read my blog posts. Below, you’ll find the supply list for the products used on today’s blog post. If, you get inspired by today’s project be sure to tag me on Instagram➝@cardsandcraftsbyyaz , I’d love to see what you’re creating.
Thank you and happy crafting, your time is valuable.
Don't forget to keep spreading kindness, Today and Always.
Love,
Yasmin
Supply List
Classic Alphabet Die Set
Best Mom Stamp Set
Sentiments Label Dies
Glossy Accent
Nuvo Aqua Shimmer Pen
WOW! Embossing Pen
WOW! Metallic Gold Rich
WOW! Embossing Pad
WOW! Heat Embossing Gun Tool
Embossing Tool Powder
Crystal Confetti
Micron Pens
Uni-ball White Gel Pen
Prima Classic Watercolor Pam Set
Cougar 110# Heavy Weight Card Stock
Strathmore 400 Series Watercolor Paper Pad
Platinum 6 Die Cutting and Embossing Machine

PLEASE NOTE
As part of the WOW! Designer Team, WOW! has provided me a code for all my lovely Subscribers to use. So, don’t forget to take the advantage of a crafty 10% off all purchase for both WOW!
US and UK by simply by using my code: WOWDTYD
Here are the links for both websites weather you’re a US or UK user.
WOW! Embossing Powder US
WOW! Embossing Powder UK
Your imagination is Your limit.
All photography provided by Yasmin Diaz


Creativity is contagious, pass it on.
–Albert Einstein
Disclosure
I am creating this blog post with the purpose of sharing how I design my cards, the information provided here is base in my own opinion and creativity. I am not an expert by any means, and I only share the way that I design my cards. Most of the products used for my blog posts are personally purchased by me. However, I did receive the products used on today’s blog post by WOW! Embossing Powder. Please, keep in mind that, all referral links are added for you to know from where either, I purchase or receive the items from as, all products shared and mentioned in each of my blog posts are simply because I use, and truly love them.