
Alex Syberia Designs June-Digi Stamp Release┃Seashells Inspiration Cards
Happy Friday, Friends! Today, I’d like to share with you these 2 “Seashells” inspiration cards that, I’ve created with Alex Syberia Designs June-2020 Digital Stamp Release. By the way… these cards are part of the Instagram Hop Release so, don’t miss the opportunity to win 1 out of 5 $10.00 gift certificates, I’ll be adding a direct link at the end of the post in case you want to hop along with us. So, without further ado let’s jump right into the step by step on how I made these Seashell inspiration cards ↓
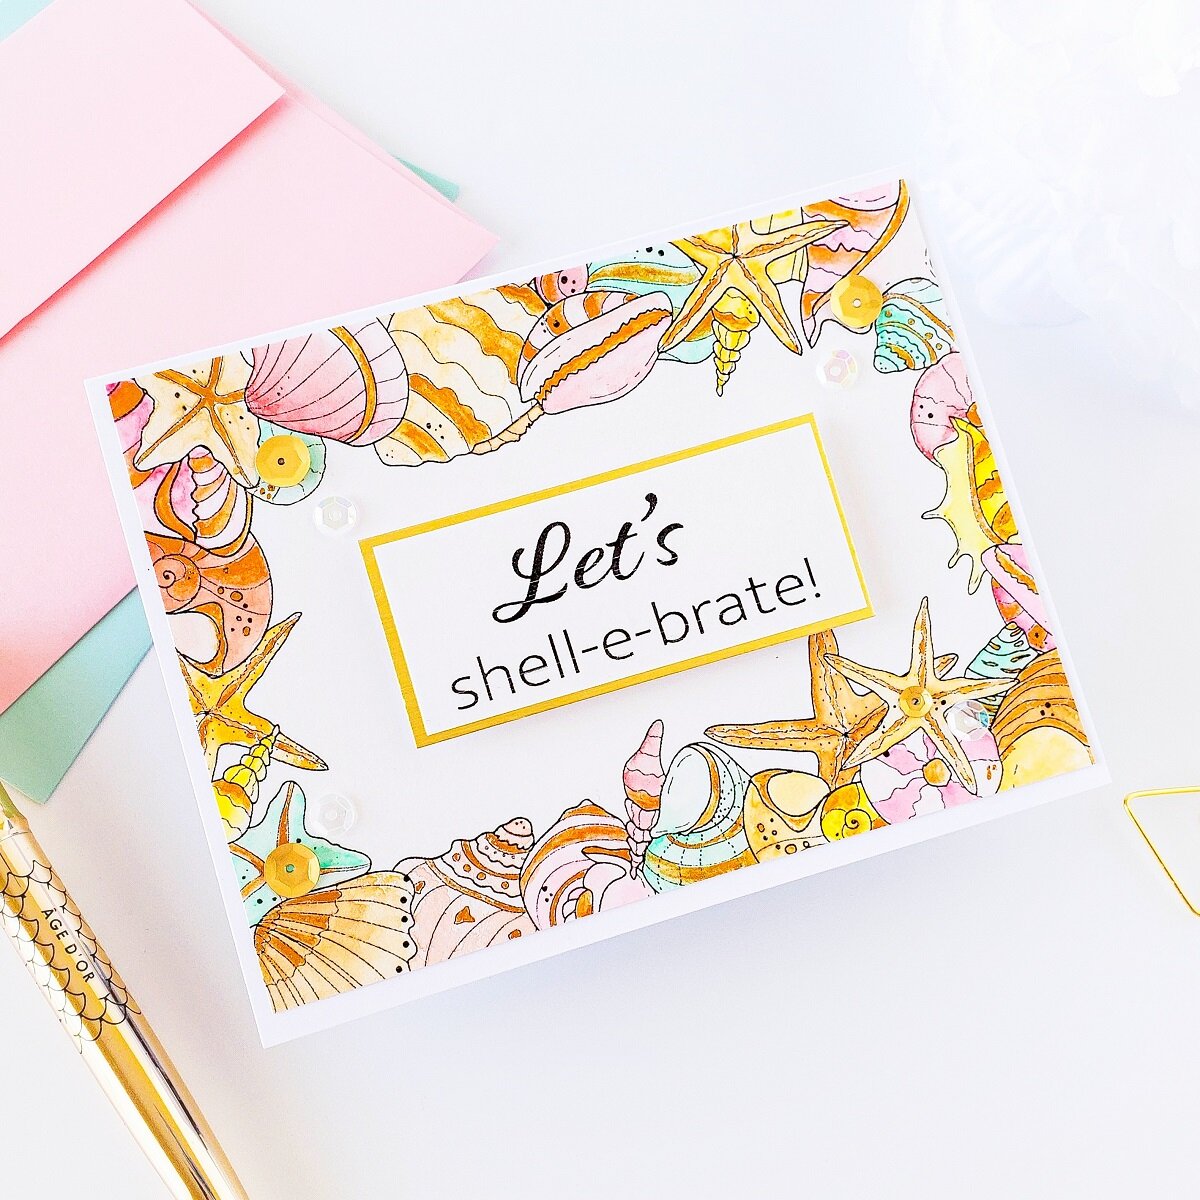
As per usual in every digital stamp release, I started by downloading and printing the images so, for the first example, I’ve got the Seashell Frame and Let’s Shell-e-brate! sentiment printed on Strathmore Smooth Bristol Paper. As, I keep printing digital stamps, I keep learning new tricks so, today I want to share with you this easy trick for a crisp black lines in case you print on an Inkjet Printer so, the trick consist than as soon as the image gets printed you must quickly add clear embossing powder over the image taking the advantage from the fresh ink to make the embossing powder to stick to it. By taking that step you not only avoid the ink from smearing, but also you ended up with black and crispy embossing black lines.

That said, after I’ve got the images printed and heat embossed, I placed the printed and heat embossed sheet over my Make Art Mini Stay-Tion All-in-One Magnetic Surface and I secured it with the magnets. Therefore, soon after that I’ve got every single seashell water-colored in with a mix of pastel hues that I created by mixing colors from my Shimmering Lights Watercolor and Vintage Pastel Watercolor sets. So, right after that I had the water-coloring done I set it aside, and as soon as the painting was dry, I added shimmering touches to some of the part from each of the seashells. To do that, I used my Metallic Watercolor Paint set which happens to be very pigmented and great to add metallic accents to any project.

So, after the water-coloring and metallic accents were added to the card panel, I trimmed the edges off from it and I adhered the backing of it with double-sided tape to an A2 side folding white card base for a landscaping design. Then, I trimmed down the sentiment and I stacked it over a larger piece of gold cardstock. Lastly, I mounted the sentiment with a piece of craft foam and double-sided tape, and to finish the card off, I got glued down with liquid glue here and there gold and pink sequins for an extra touch of shine.

For the second example, I took a step further by creating a Seashell/Floral framed card. So, to begin with I started by printing, clear heat embossing and water-coloring 12 seashells. Therefore, for the water-coloring I kept it quite simple by using the same hues that I used for the first example. That said, after I had water-colored each of the seashells, I set them aside to let the painting dry.

So, while the seashells were drying out, I water-colored a few sections of a large piece of Strathmore Smooth Bristol Paper using the same hues so, as soon as I was done watercolor in each section, I set them aside to dry. Meanwhile, I got the card base prepared so, to do that I lined up over a white card panel the die from the Bubble Palace Stamp and Die Set, and I ran them through my Platinum 6 Die Cutting and Embossing Machine. Once, I had the bubble palace die-cutting panel done, I went ahead to glue the backing of it with liquid glue to an A2 top folding white card base. By the time that I was done adhering the detailed panel to the card base my water-coloring was already dry so, I set the card base aside and I went ahead to create the flower die-cutting pieces. So, for the flowers I lined up a flower die over each section from the water-coloring that I had previously created and I ran them through the die-cutting machine until I had enough pieces to create 9 die-cutting flowers.

Once, I had the die-cutting pieces for the flowers done I used the Stylus Tips for my Tool ‘n One to curled up the center pieces of the flowers and I got them glued down to the bottom layer of each flower. So, after my flowers were completed, I set them aside and I went ahead to fussy-cut each of the water-colored seashell, and as soon after I was done fussy cutting them I started the layering for the frame. As you can see in the image above, to create the frame I mounted some of the flowers and seashell with dimensional square adhesives while I glued down with liquid the rest creating that way a dimensional frame. Lastly, after I was done creating the frame, I mounted with dimensional square adhesives the sentiment across the whole panel, and to finish the card off I’ve got adhered with liquid glue here and there gold and pink sequins for an extra touch of shine.

That’s all friends! I hope you’ve enjoyed reading the step by step on how I’ve created these 2 “Seashells” inspiration cards with the Alex Syberia Designs June-2020 Digital Stamp Release. As always, I appreciate the time that takes you to read my blog posts. Below, you’ll find the supply list for the products used on today’s blog post. If, you get inspired by today’s project be sure to tag me on Instagram➝@cardsandcraftsbyyaz I’d love to see what you’re creating.
Thank you and happy crafting, your time is valuable.
Don't forget to keep spreading kindness
Today and Always.
Love,
Yasmin
Supply List
Seashell Bundle
Summer Sentiments
Bubble Palace Stamp and Die Set
Tool ‘n One
Stylus Tips
Shimmering Lights Watercolor Set
Vintage Pastel Watercolor Set
Heaven Sent Sequin Mix
Clear Gloss Embossing Powder
Embossing Tool Powder
WOW! Embossing Pad
WOW! Heat Embossing Gun Tool
Cougar 110# Heavy Weight Card Stock
Strathmore 300 Series Smooth Bristol Paper
Metallic Watercolor Paint
Make Art Mini Stay-Tion All-in-One Magnetic Surface
Platinum 6 Die Cutting and Embossing Machine

PLEASE NOTE
As part of the WOW! Designer Team, WOW! has provided me a code for all my lovely Subscribers to use. So, don’t forget to take the advantage of a crafty 10% off all purchase for both WOW!
US and UK by simply by using my code: WOWDTYD
Here are the links for both websites weather you’re a US or UK user.
WOW! Embossing Powder US
WOW! Embossing Powder UK
Your imagination is Your limit.
All photography provided by Yasmin Diaz


Creativity is contagious, pass it on.
–Albert Einstein
Disclosure
I am creating this blog post with the purpose of sharing how I design my cards, the information provided here is base in my own opinion and creativity. I am not an expert by any means, and I only share the way that I design my cards. Most of the products used for my blog posts are personally purchased by me. However, I did receive the Digital Stamps by Alex Syberia Designs and the products by WOW! Embossing Powder. Please, keep in mind that, all referral links are added for you to know from where either, I purchase or receive the items from as, all products shared and mentioned in each of my blog posts are simply because I use, and truly love them.