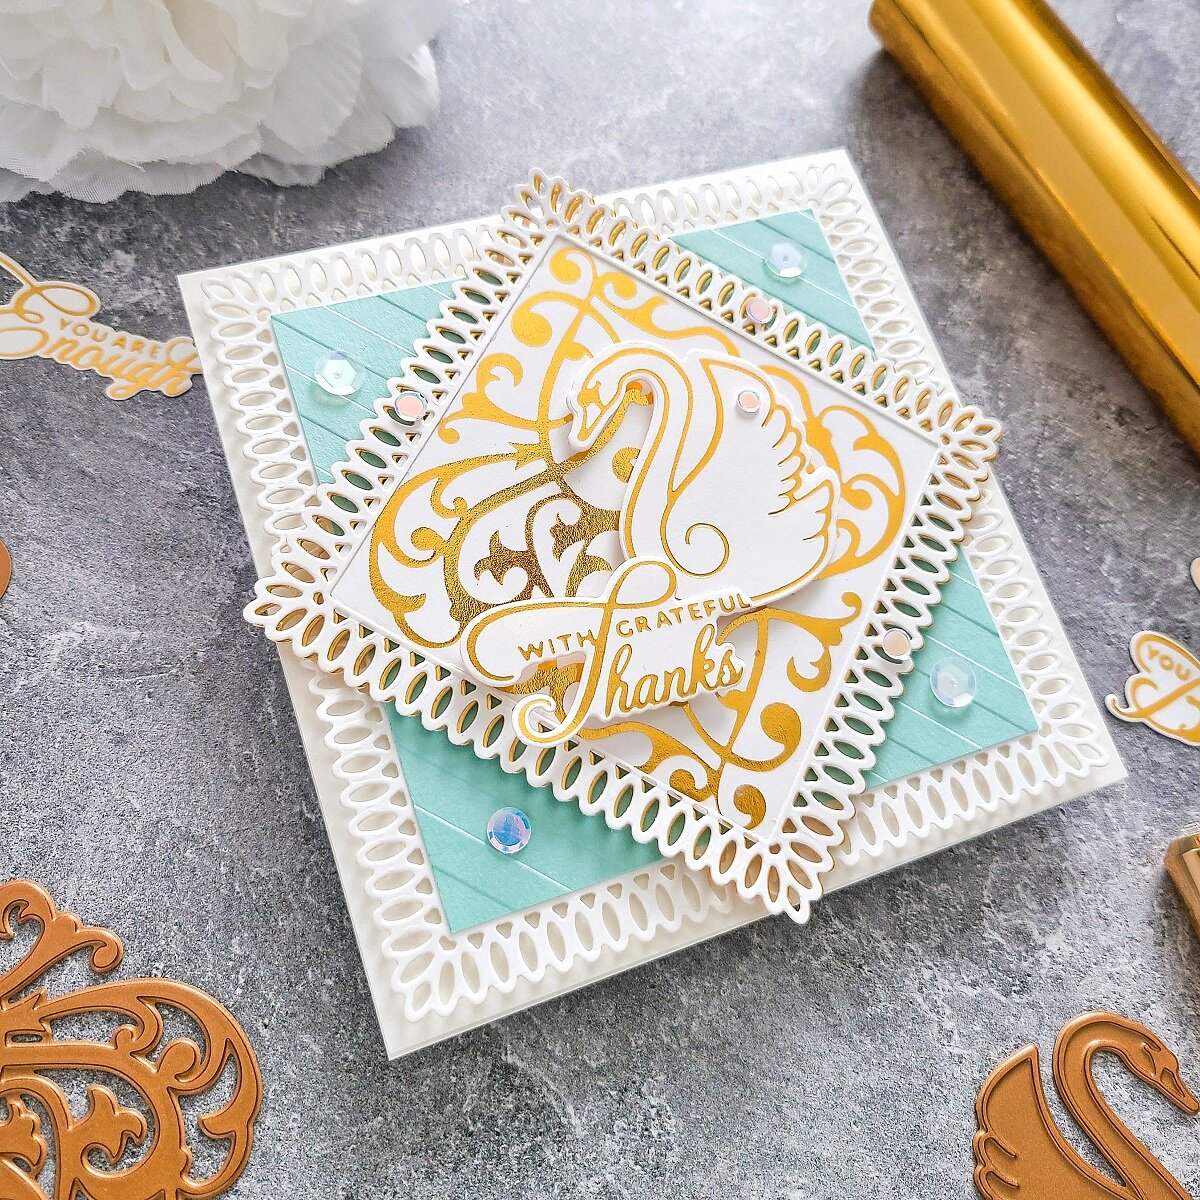
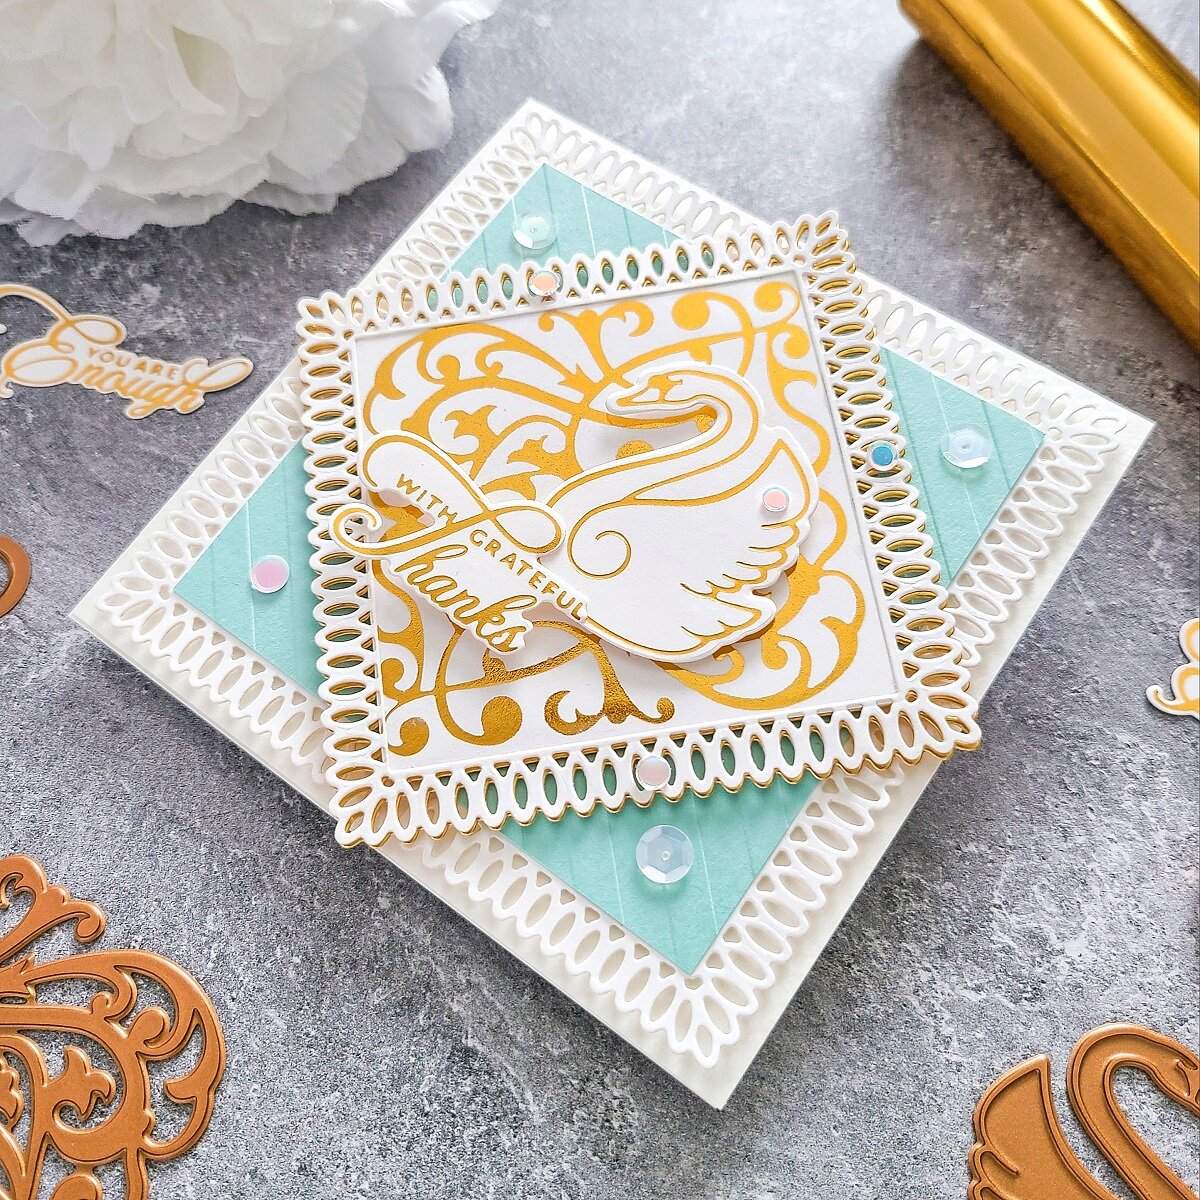
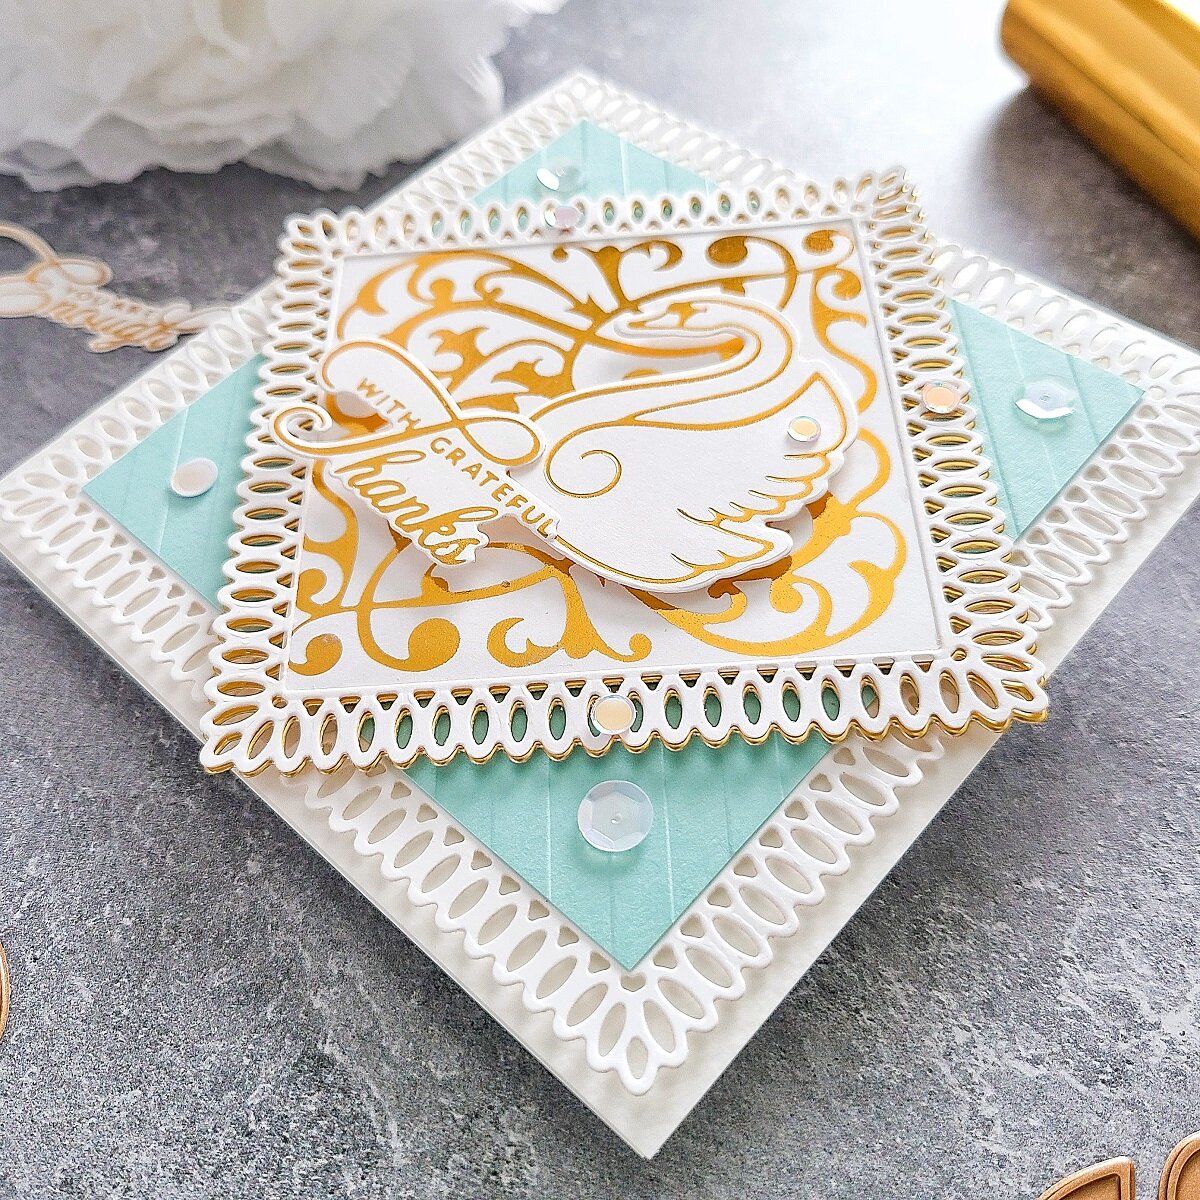
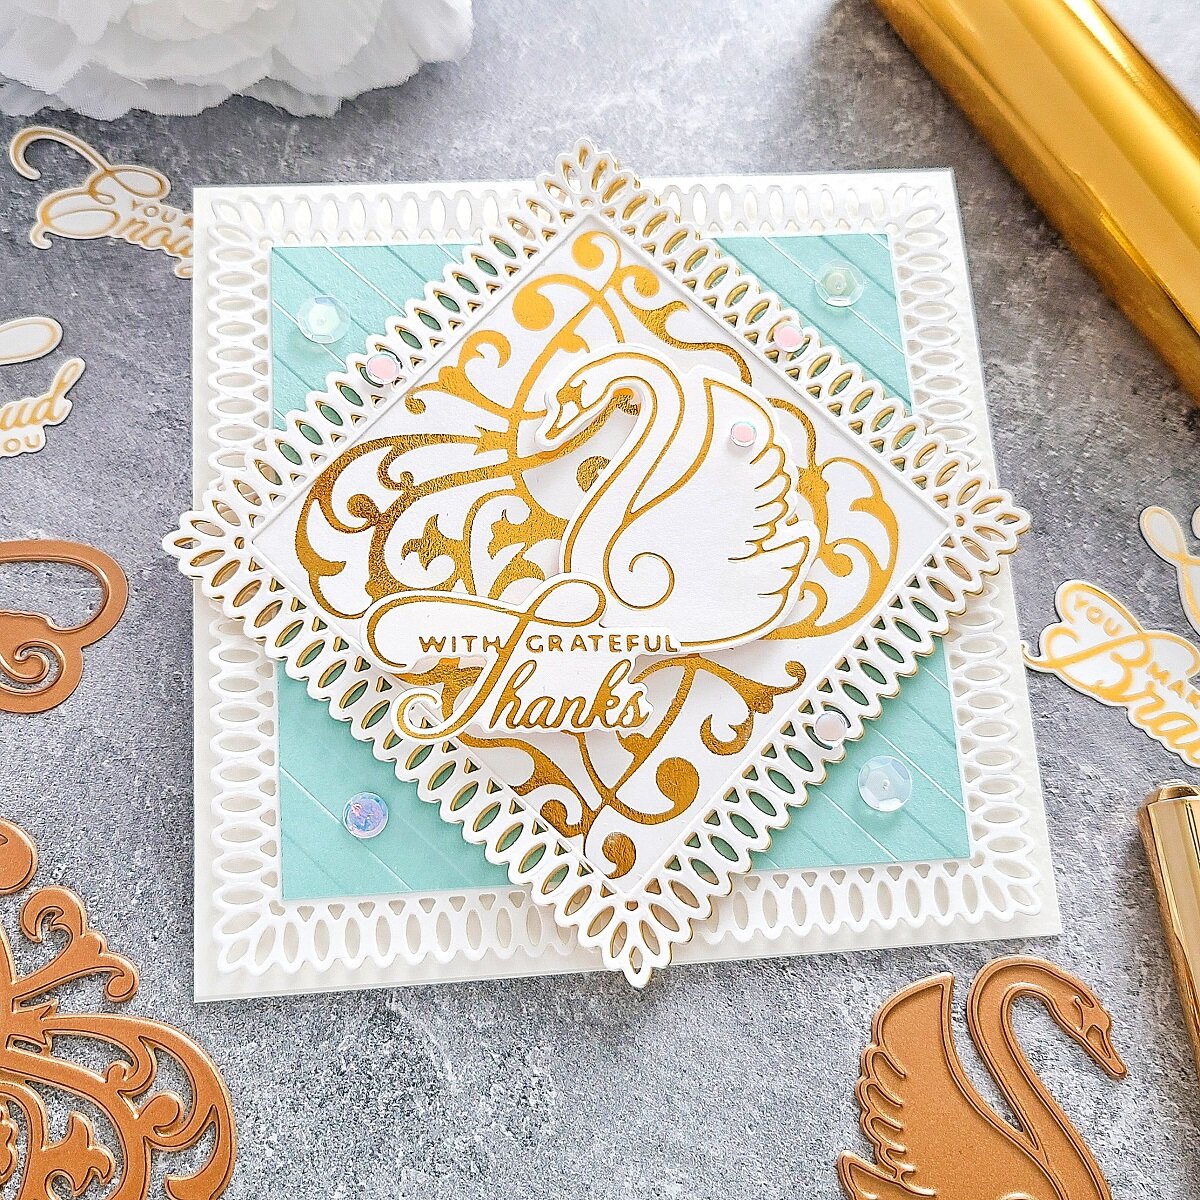
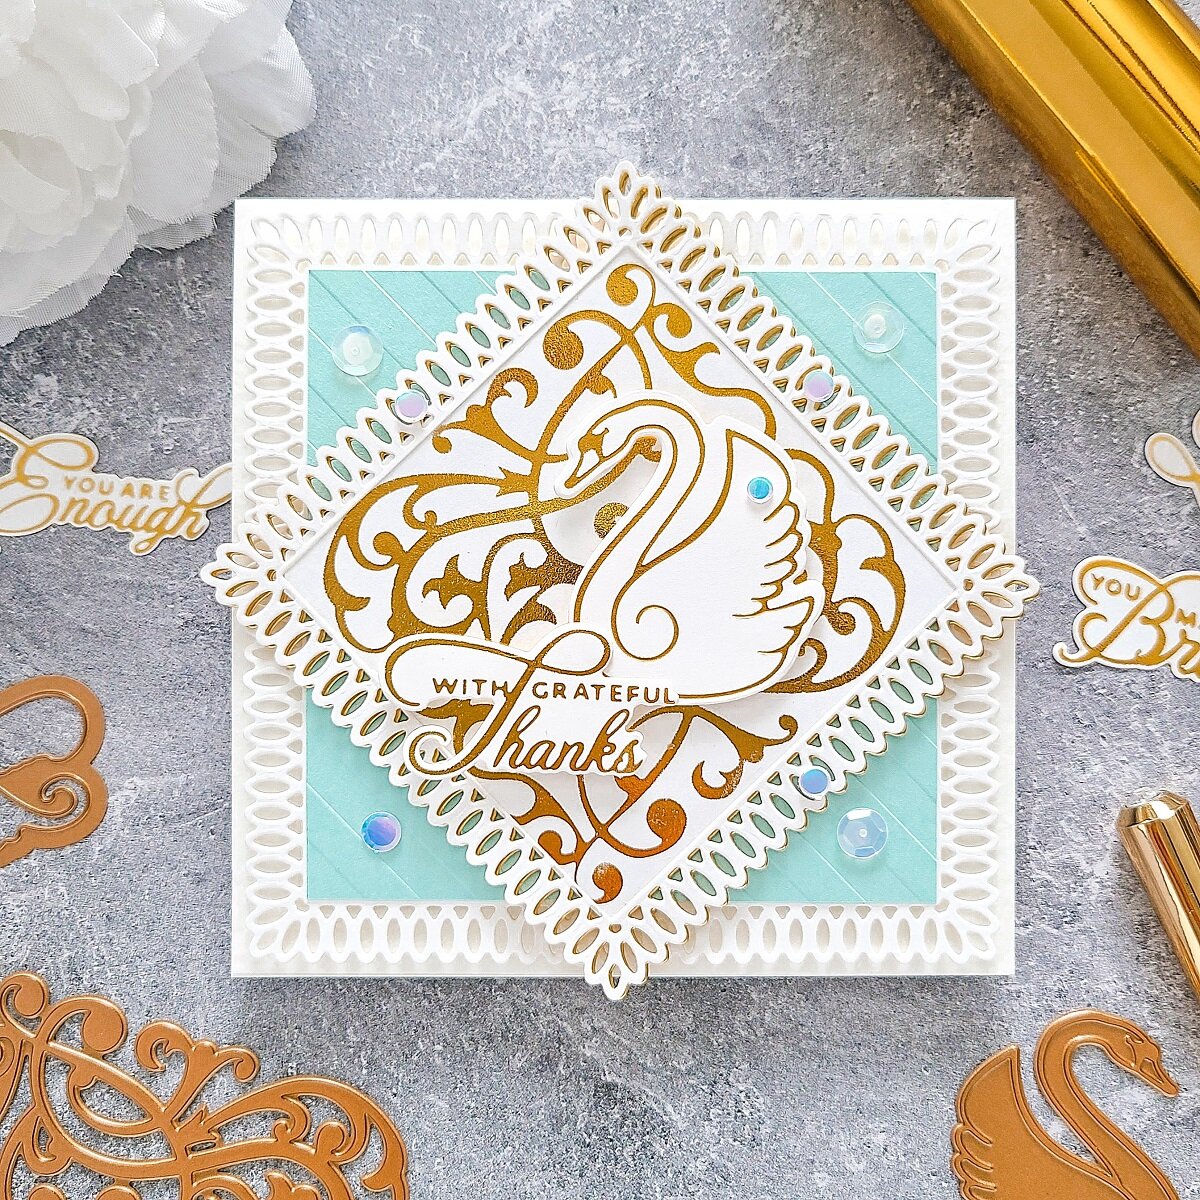
Happy Sunday, Friends! On today’s blog, I’d like to share with you a very “Delicate & Elegant” card made showcasing some of the glimmer plates from Spellbinders -Sweet Cardlets Collection by Becca Feeken. So, without further ado let’s jump right into the step-by-step for how I made it↓
As, per usual every time I do foiling, I started by setting up on my Glimmer Hot Foil System Platform and Platinum 6 Die Cutting and Embossing Machine over my Crafter's Essential Cutting and Alignment Mat. Then, I went ahead to turn on the glimmer hot foil platform and while the platform was heating up, I went ahead to line up over a white card panel each glimmer sentiment plate included in Heart Felt Sentiments Glimmer Hot Foil Plate & Die Set. Along with the sentiments, I’ve also gone ahead to line up on a separate white card panel the background and swan glimmer plates included in Graceful Swan Glimmer Hot Foil Plate & Die Set.
Thus, right after that I’ve had all of them line up, I’ve gone ahead to cut 2 large pieces of Glimmer Hot Foil Roll - Polished Brass using the Quick Trimmer. Therefore, after I was done foiling, I went ahead to line up over each sentiments their coordinate die and once I’ve had them line up, I’ve gone ahead to run them thru my Platinum 6 Die Cutting and Embossing Machine.
Moving on, soon after that I’ve had finish die-cutting each sentiment, I went ahead to set them off to the side. Meanwhile, I went ahead to line up the largest and medium dies from Elegant Twist Squares Etched Dies over 2 big pieces of white cardstock thus, right after that I’ve them both line up over the cardstock, I went ahead to run them thru the die-cut machine.
Therefore, after I was done die-cutting both detailed card panels, I’ve gone ahead to die-cut another medium frame but, this time out of Gold cardstock. With that said, after I’ve had finish die-cutting all 3 detailed frame, I went ahead to line up over the medium White detailed frame the second-to-last solid frame from Nestabilities Essential Squares Etched Dies and, I’ve proceed to run them thru my die-cut machine to die-cut the center out from the frame.
Once, I was done die-cutting the frames, I went ahead to lined up over the swan its coordinated die and I went ahead to run them thru the die-cut machine. Soon after that, I’ve gone ahead to start the assembling for the card.
For the assembling, I went ahead to mount with craft foam tape the largest detailed white card panel over a white 4-1/4 x 4-1/4 square card base. Next, I went ahead to adhered over the card panel a dried emboss card panel which I’ve had previously dry emboss using Love Stripes Embossing Folder and Sea Glass color cardstock. Then, I’ve layered the white detailed frame over the gold frame and then, I’ve gone ahead to mount the layered frame with craft foam over the card panel (as shown in the image above) Lastly, I went ahead to trim the edges off from the foiled background which right afterwards, I’ve gone ahead to glue it over the detailed card panel.
Finally, to finish the card off, I went ahead to mount the swan and one of the foiled sentiment with square dimensional adhesives to add even more dimension and, as a finishing touches, I went ahead to glue down with liquid glue here and there lot of sequins to add an extra pop of shine! With that being said friends, I hope you’ve enjoyed reading the step-by-step for how I’ve made this “Delicate & Elegant” card showcasing some of the glimmer plates from Spellbinders -Sweet Cardlets Collection by Becca Feeken. As always, I appreciate the time that takes you to read my blog posts. Below, you’ll find the supply list for the products used on today’s blog post. If you get inspired by today’s project, be sure to tag me on Instagram ➝@cardsandcraftsbyyaz I’d love to see what you’re creating.
Thank you and happy crafting.
Stay Awesome & Beautiful
— Today & Always —
Love,
Yasmin
Supply List
Sweet Cardlets Collection by Becca Feeken
Heart Felt Sentiments Glimmer Hot Foil Plate & Die Set
Graceful Swan Glimmer Hot Foil Plate & Die Set
Elegant Twist Squares Etched Dies
Nestabilities Essential Squares Etched Dies
Love Stripes Embossing Folder
Glimmer Hot Foil Roll - Polished Brass
Glimmer Hot Foil System Platform
Platinum 6 Die Cutting and Embossing Machine
Tool ‘n One
Quick Trimmer
MISTI Stamping Tool
Crafter's Essential Cutting and Alignment Mat
Cougar 110# Heavy Weight Card Stock
More INFORMATION
FAQ About Spellbinders Kits
Your imagination is Your limit.
All photography provided by Yasmin Diaz
Creativity is contagious, pass it on.
–Albert Einstein
Disclosure
I am creating this blog post with the purpose of sharing how I design my cards, the information provided here is base in my own opinion and creativity. I am not an expert by any means and I only share the way that I design my cards. Most of the products used for my blog posts are personally purchased by me. However, I did receive the products by Spellbinders.
Please, keep in mind that, all referral links are added for you to know from where either, I purchase or receive the items from as, all products shared and mentioned in each of my blog posts are simply because I use and truly love them.
However, I’d like to mention that some links (NOT ALL) are affiliated links which means that I get paid a small commission when a purchase is made thru that particular link but, at no additional cost to you.
Also, I am not paid by any company to promote their products nor any company sponsors my blog. I pay for my own website, I take my photography, I personally type my blog post, I enter links and even better I make every single card. I try my best working every day a little bit here and a little bit there striving for a professional and friendly use to you. With that said, your support is so much appreciated as if you use those links your help will give me to keep this website running.
Thank you and have a wonderful crafty-shopping!

