Spellbinders July 2019 Small Die of the Month Besties Forever Cards
Hello friends! I’m happy to have you back as today I’d like to share with you how I’ve made these three Besties Forever cards featuring the new July Small Die of the Month by Spellbinders So, without further ado please keep on reading the post. ↓
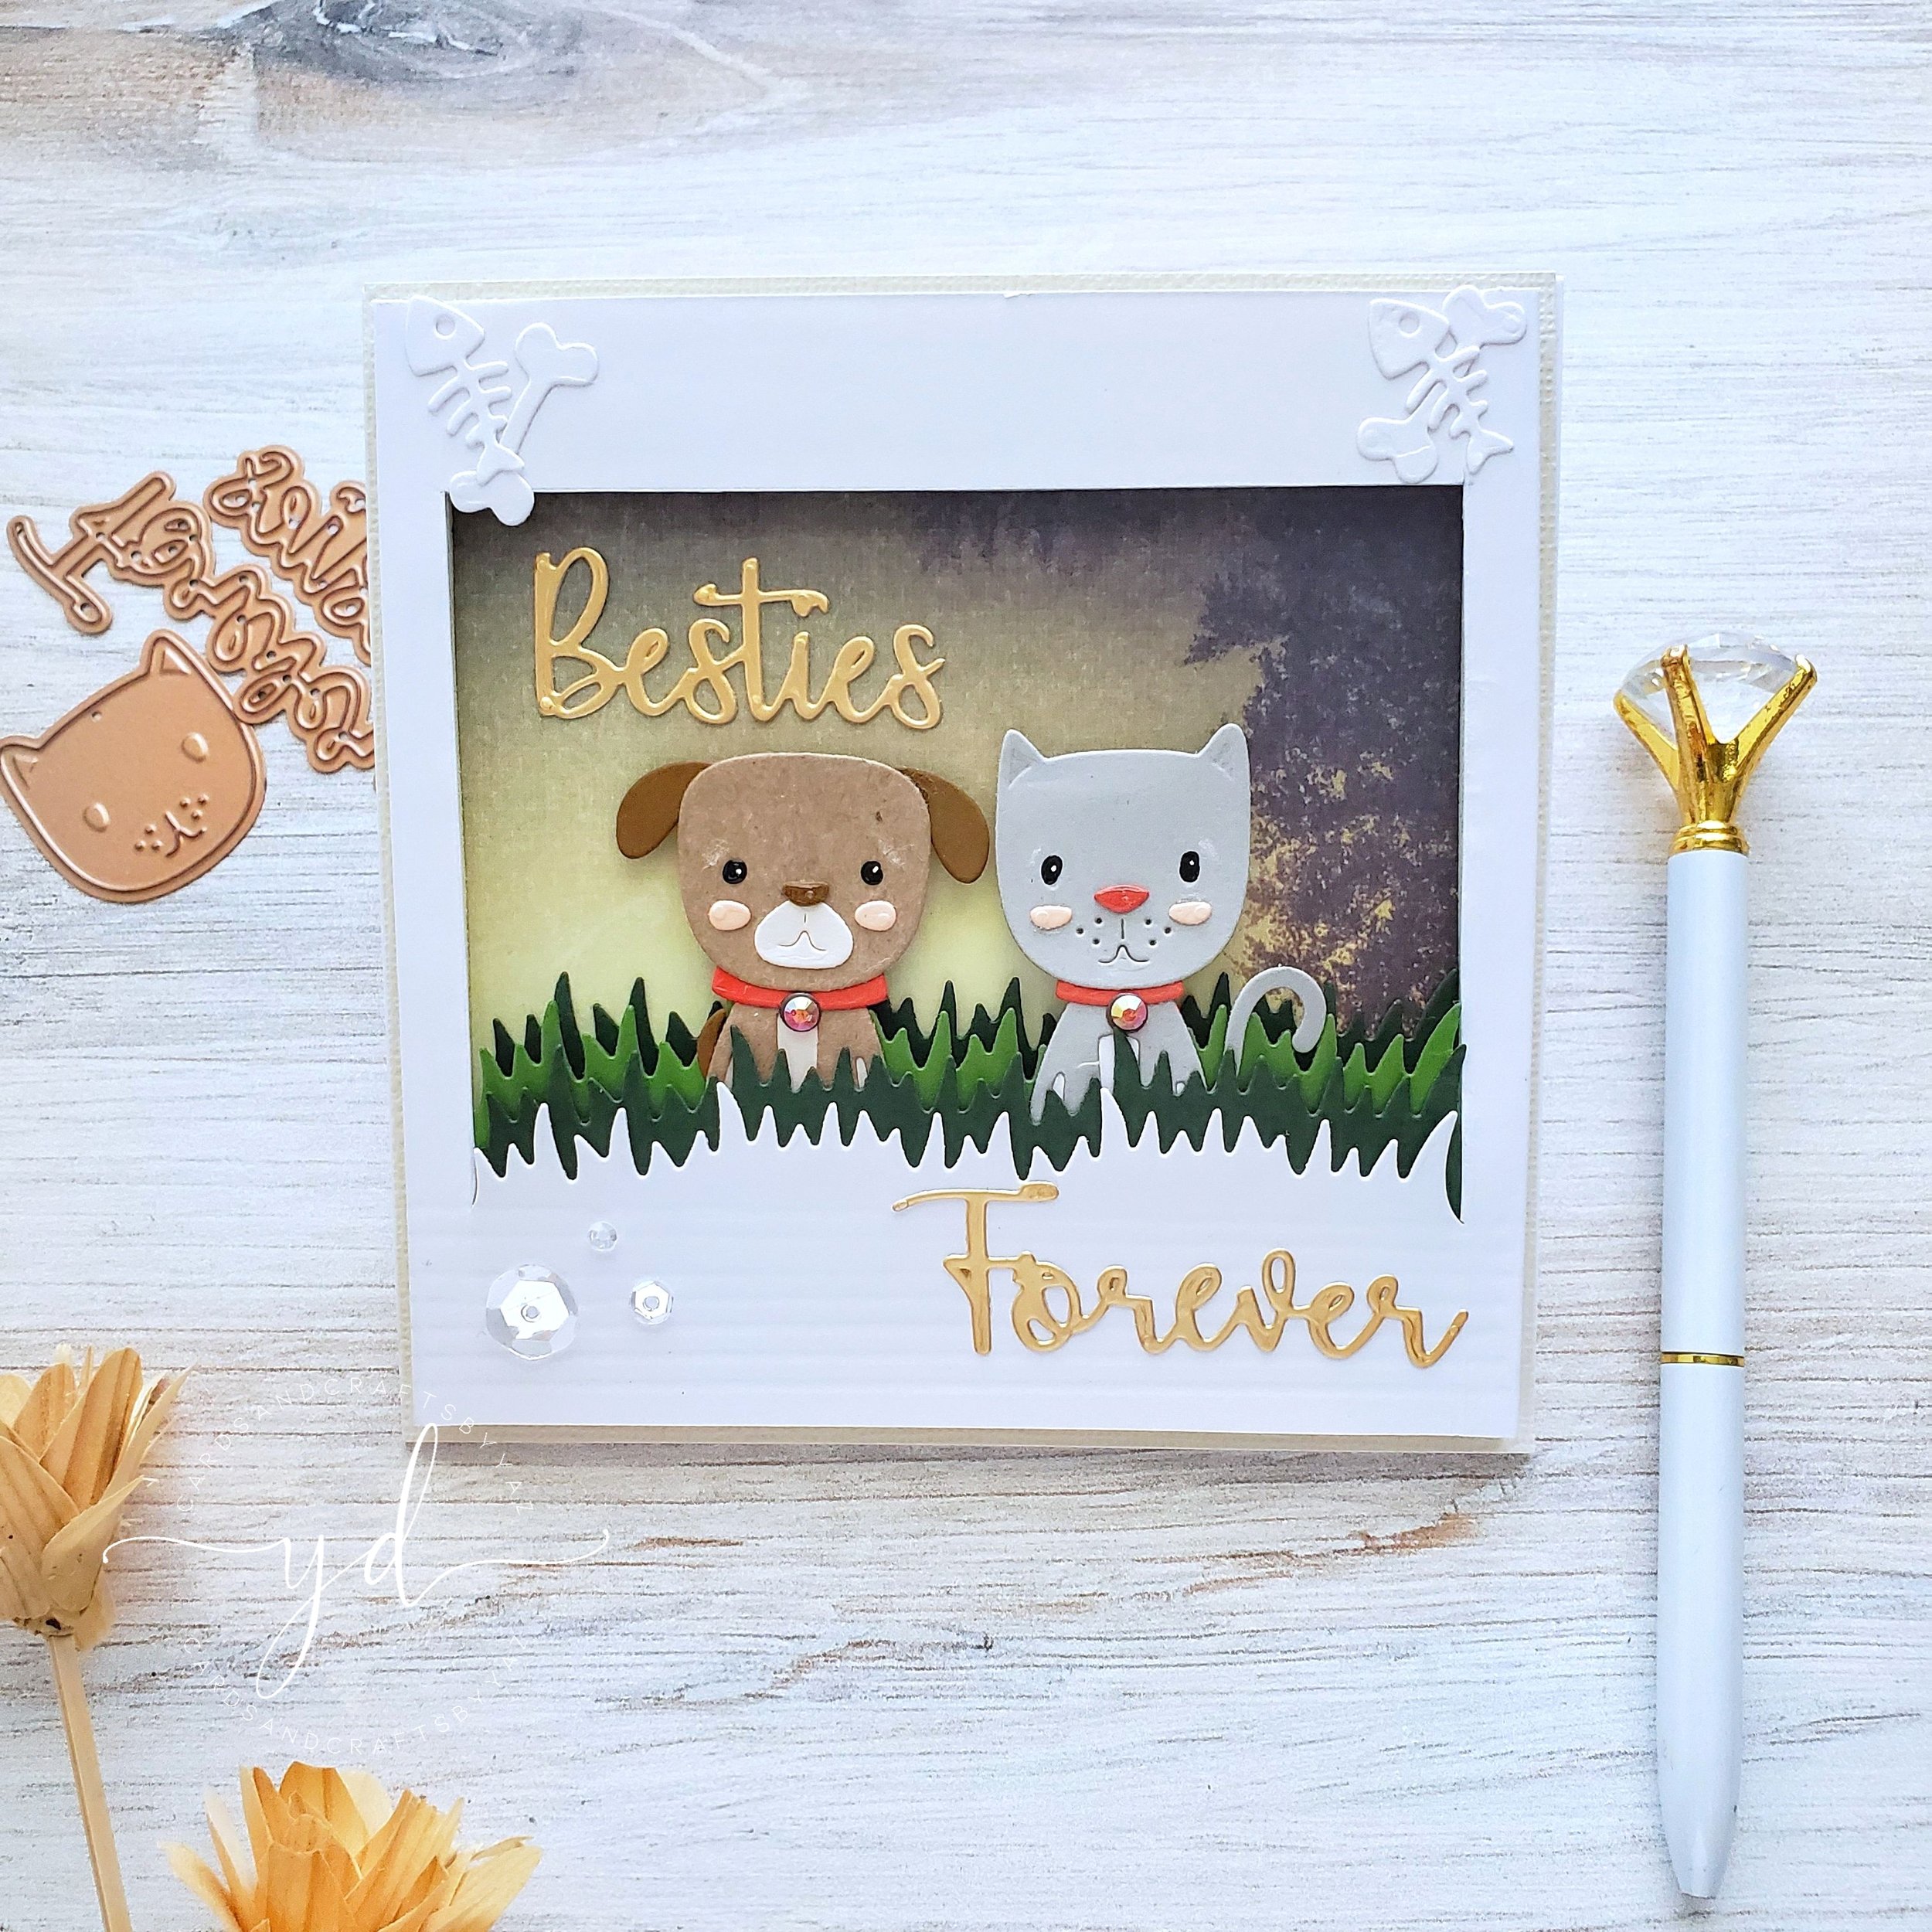
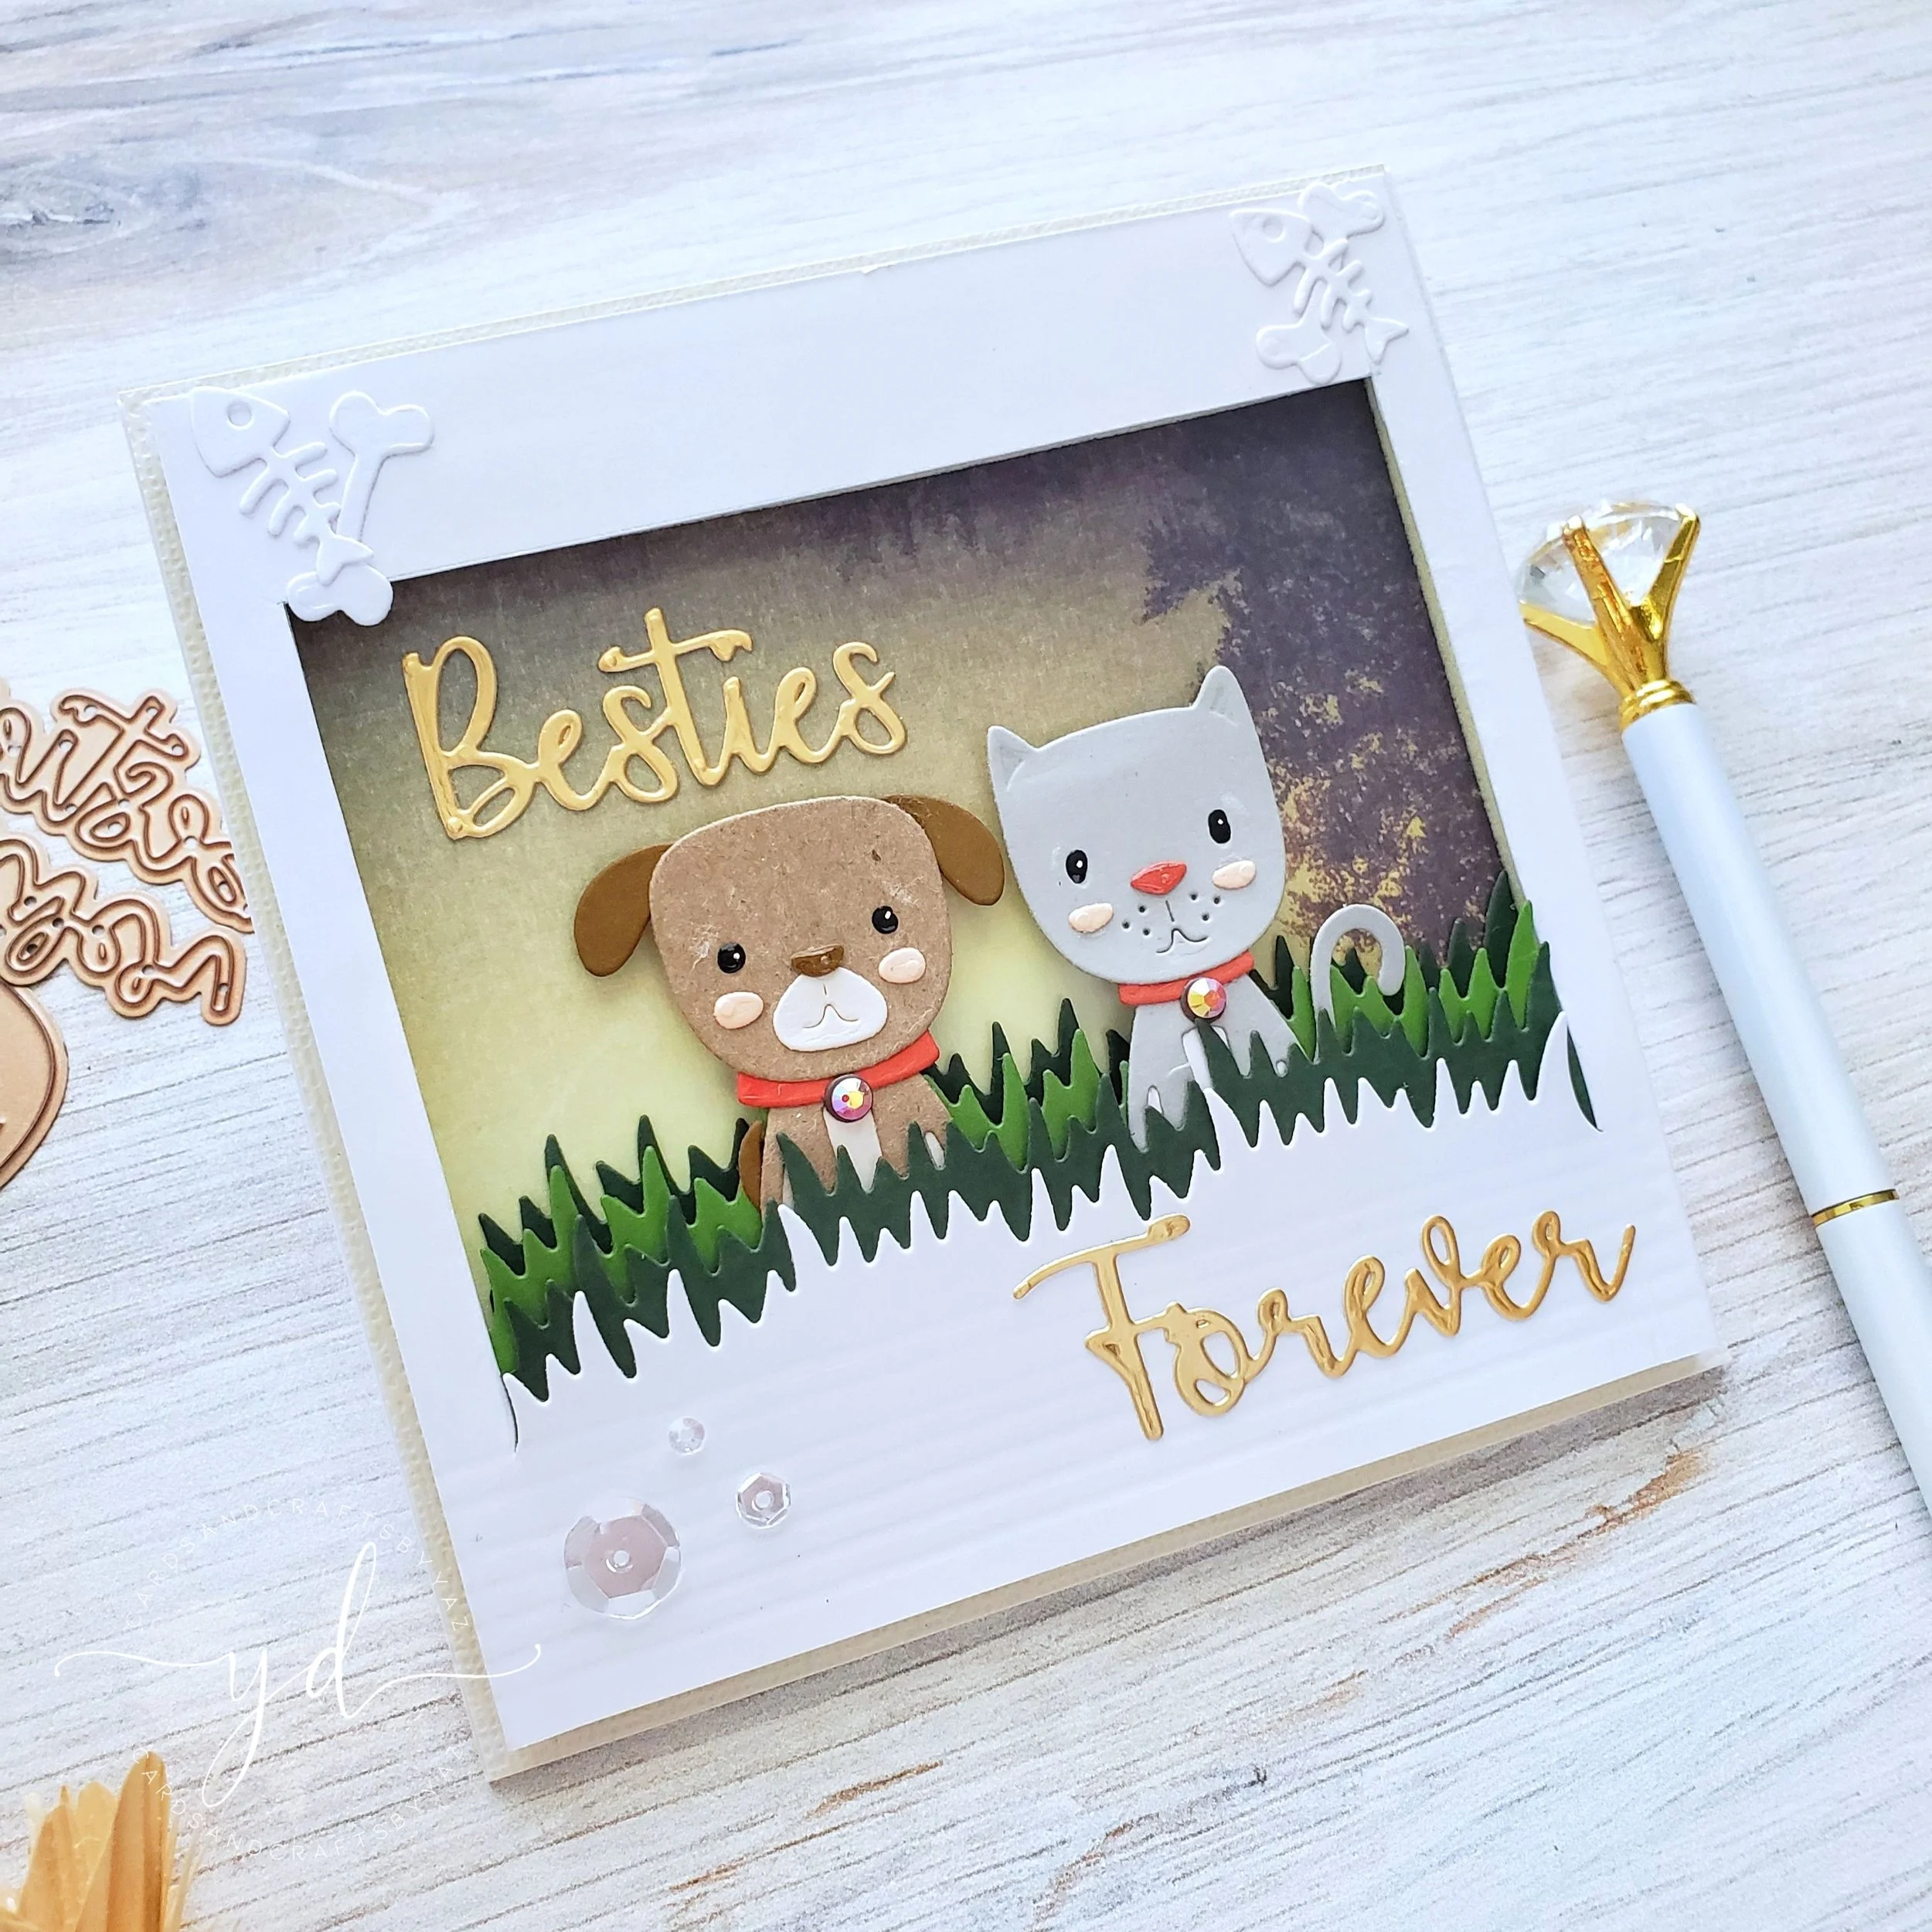
To begin with for today’s first example, I started by trimming, scoring, and die-cutting a white card panel to create a shadow box for the card. For that, I trimmed a piece of white card stock that measured W 5 1/4’’ X H 5.0’’ then, I made two score lines at 1/4’’, 1/2’’ next, I folded those score lines with the help of my bone folder for a crispy look folds. Once those folds were done, I continued the next set of folds starting from the last score line I made another score line leaving an space between the last and the next at 4 1/4’’ then, I made the last score line at 4 1/2. To create the opening frame, I used a ruler to mark from the bottom to the 1’’ to place the grass die right in the center were the 4 1/4 space was, and I ran the die and white panel in the die-cutting machine. The grass die does a partial cut, so to cut the opening I followed the scored lines to cut the edges of the frame using an exacto knife, and a metal ruler keeping in mind that I also had to leave an exact 1.0’’ from the top to the center of the card just as I did before cutting the grass with the die.
Once the opening was cut out, I ran through the die-cutting machine a few times the grass die to make the die-cuttings out two different shades of greens creating a little bit of contrast. Right after the die-cutting grass was done, I the edges of the card panel with double-sided tape, and I adhered the backing of the card panel with foam mounting tape as I wanted to create a whole dimensional scene. At this point I could have adhered clear acetate if I wanted to create a shaker card before I adhered the color grass die-cuttings, but I didn’t. I just wanted to mention as I might give it a try in a future project. So, a set the frame aside while a ran through the die-cutting machine all the dies included in Small Die of the Month to die-cut them out of different color card stocks as you can see by seeing the cat & dog in the picture above. Once all pieces were die-cut, I adhered each of them with liquid glue, and I started to build the card scene by adhered one of the dark green grass die-cutting with double sided tape, followed for the cat & the dog for them I only adhered the bottom part with liquid glue as I was planning to adhere more grass behind them. Lastly, I adhered the next two grass die-cuttings. To finalize the frame, I trimmed one of the 6X6 patterned papers included in the May card kit of the month, and I peeled and adhered all the backing of the foam mounting tape to it. I also adhered the backing of their head with foam mounting tape to add the same level of dimension as the frame.
Finally, I ran through the die-cutting machine the two words Besties, Forever to die-cut them out of gold cardstock, and I adhered them to card panel with liquid glue. To finish the card panel off I adhered the frame to a 5X5 cream card panel, and I set it aside while I stared the next two cards.
For the second, and third example I made a regular A2 standard size card. So, I repeated the same steps as the previous example to create the Cat & the Dog, however I used different pieces of color card stock as you can see in the picture above but, I kept the same shade of green for the grass. Once all die-cuttings were done, I adhered them all and I created a little scene which I cut in a circle shape. For the card panel, I ran through the die-cutting machine a piece of Fog card stock, and an embossing folder to dry emboss the card panel. Right after, I trimmed the edges of the dry embossed card panel, and I adhered the circle shape scene to it with foam mounting tape to add dimension in between. Finally, I die-cut the Besties Forever phrase out the same dark card stock that I used for the cat and I adhered on the lower side of the card with liquid glue, and I called this card panel done.
For the third example, I made a full card panel scene as you can see. So, I started by trimming a card panel out of Sea Glass card stock. Then, I die-cut some grass by using the die and the same greens shades of card stock which I adhered to the sea glass card panel with double sided tape. Next, I adhered the pieces together to make the cat & dog, and the rest of the die-cutting that I was going to use for this card. So, I adhered the backing of the bottom part of the dog with liquid glue, and his head with double sided tape. And, I did the same for the cat as well for their food bowls. As I didn’t have any clouds on my sea glass sky, I decided to die- cut the bone, fish, and the phrase out of white card stock, and I adhered on the top of the card panel as the finishing part of the card panel.
To finish the cards off, I adhered the backing of each of them to their white card bases which I had previously scored and folded. As you can see two of them are A2 standard size and one of them is a 5X5 square card. To embellish each card, I used a combination of sparkly sequins which I adhere here and there for a sparkly touch as well as I adhered a little jewel to their collars, and last but not least I also added shimmer to the phrases by using Nuvo Shimmer Pen, and Glossy Accent to add shine to their noses.
Well, that’s all for today crafty friends! I hope that I’ve inspired you to give these designs, and the club a try! Down below you’ll find all the information about the Clubs, and the supply list for the products used in this Blog Post.
Thank you and happy crafting, your time is valuable.
Don't forget to keep spreading kindness, Today and Always.
Best,
Yasmin
More INFORMATION
FAQ About Spellbinders Kits
PLEASE NOTE
As WOW! Designer Team member, WOW! has provided me a code for all you my lovely Subscribers to use. So, please don’t forget to take the advantage of a 10% off all purchase for both WOW! US and UK by simply by using my code: WOWDTYD
‒ Here are the links for both websites weather you’re a US or UK user.
WOW! US
WOW! UK
Your imagination is Your limit.
All photography provided by Yasmin Diaz
Creativity is contagious, pass it on.
–Albert Einstein
Disclosure
I am creating this blog with the purpose of sharing how I design my cards, the information provided here is base in my own opinion and creativity. I am not an expert by any means, and I only share the way that I design my cards. All the products used for this blog post were personally purchased by me. However, I did receive the Small Die of the Month by Spellbinders. Please know, that all the referral links were added for you to know from where I purchased or received them from. The products shared and mentioned in my blog posts are simply because I use, and truly love them.


